Mechanical keyboards are great; I bet we can all agree on that. However, with all those switches and cool RGB lighting, there’s a drawback too — they get real dirty, real quick. Since there is a whole lot of switches, keycaps and most importantly, gaps to account for, mechanical keyboards pick up dust and dirt pretty quickly.
What’s more annoying is that they’re quite a headache to clean. But you can’t just let your keyboard sit there and eat dust, can you? Doing so can shorten the life of your keyboard and might even affect certain parts like the RGB lights or even switch performance.
In this article, we’re going to take a look at how to clean your keyboard, without spending hours pulling out the keycaps.
Also read: Top 7 wireless mechanical keyboards
Requirements to clean your mechanical keyboard
To begin with, you’re going to need the following supplies.

- A wide paintbrush. Similar to the one showed in the image. I found it for 10 bucks my local hardware store.
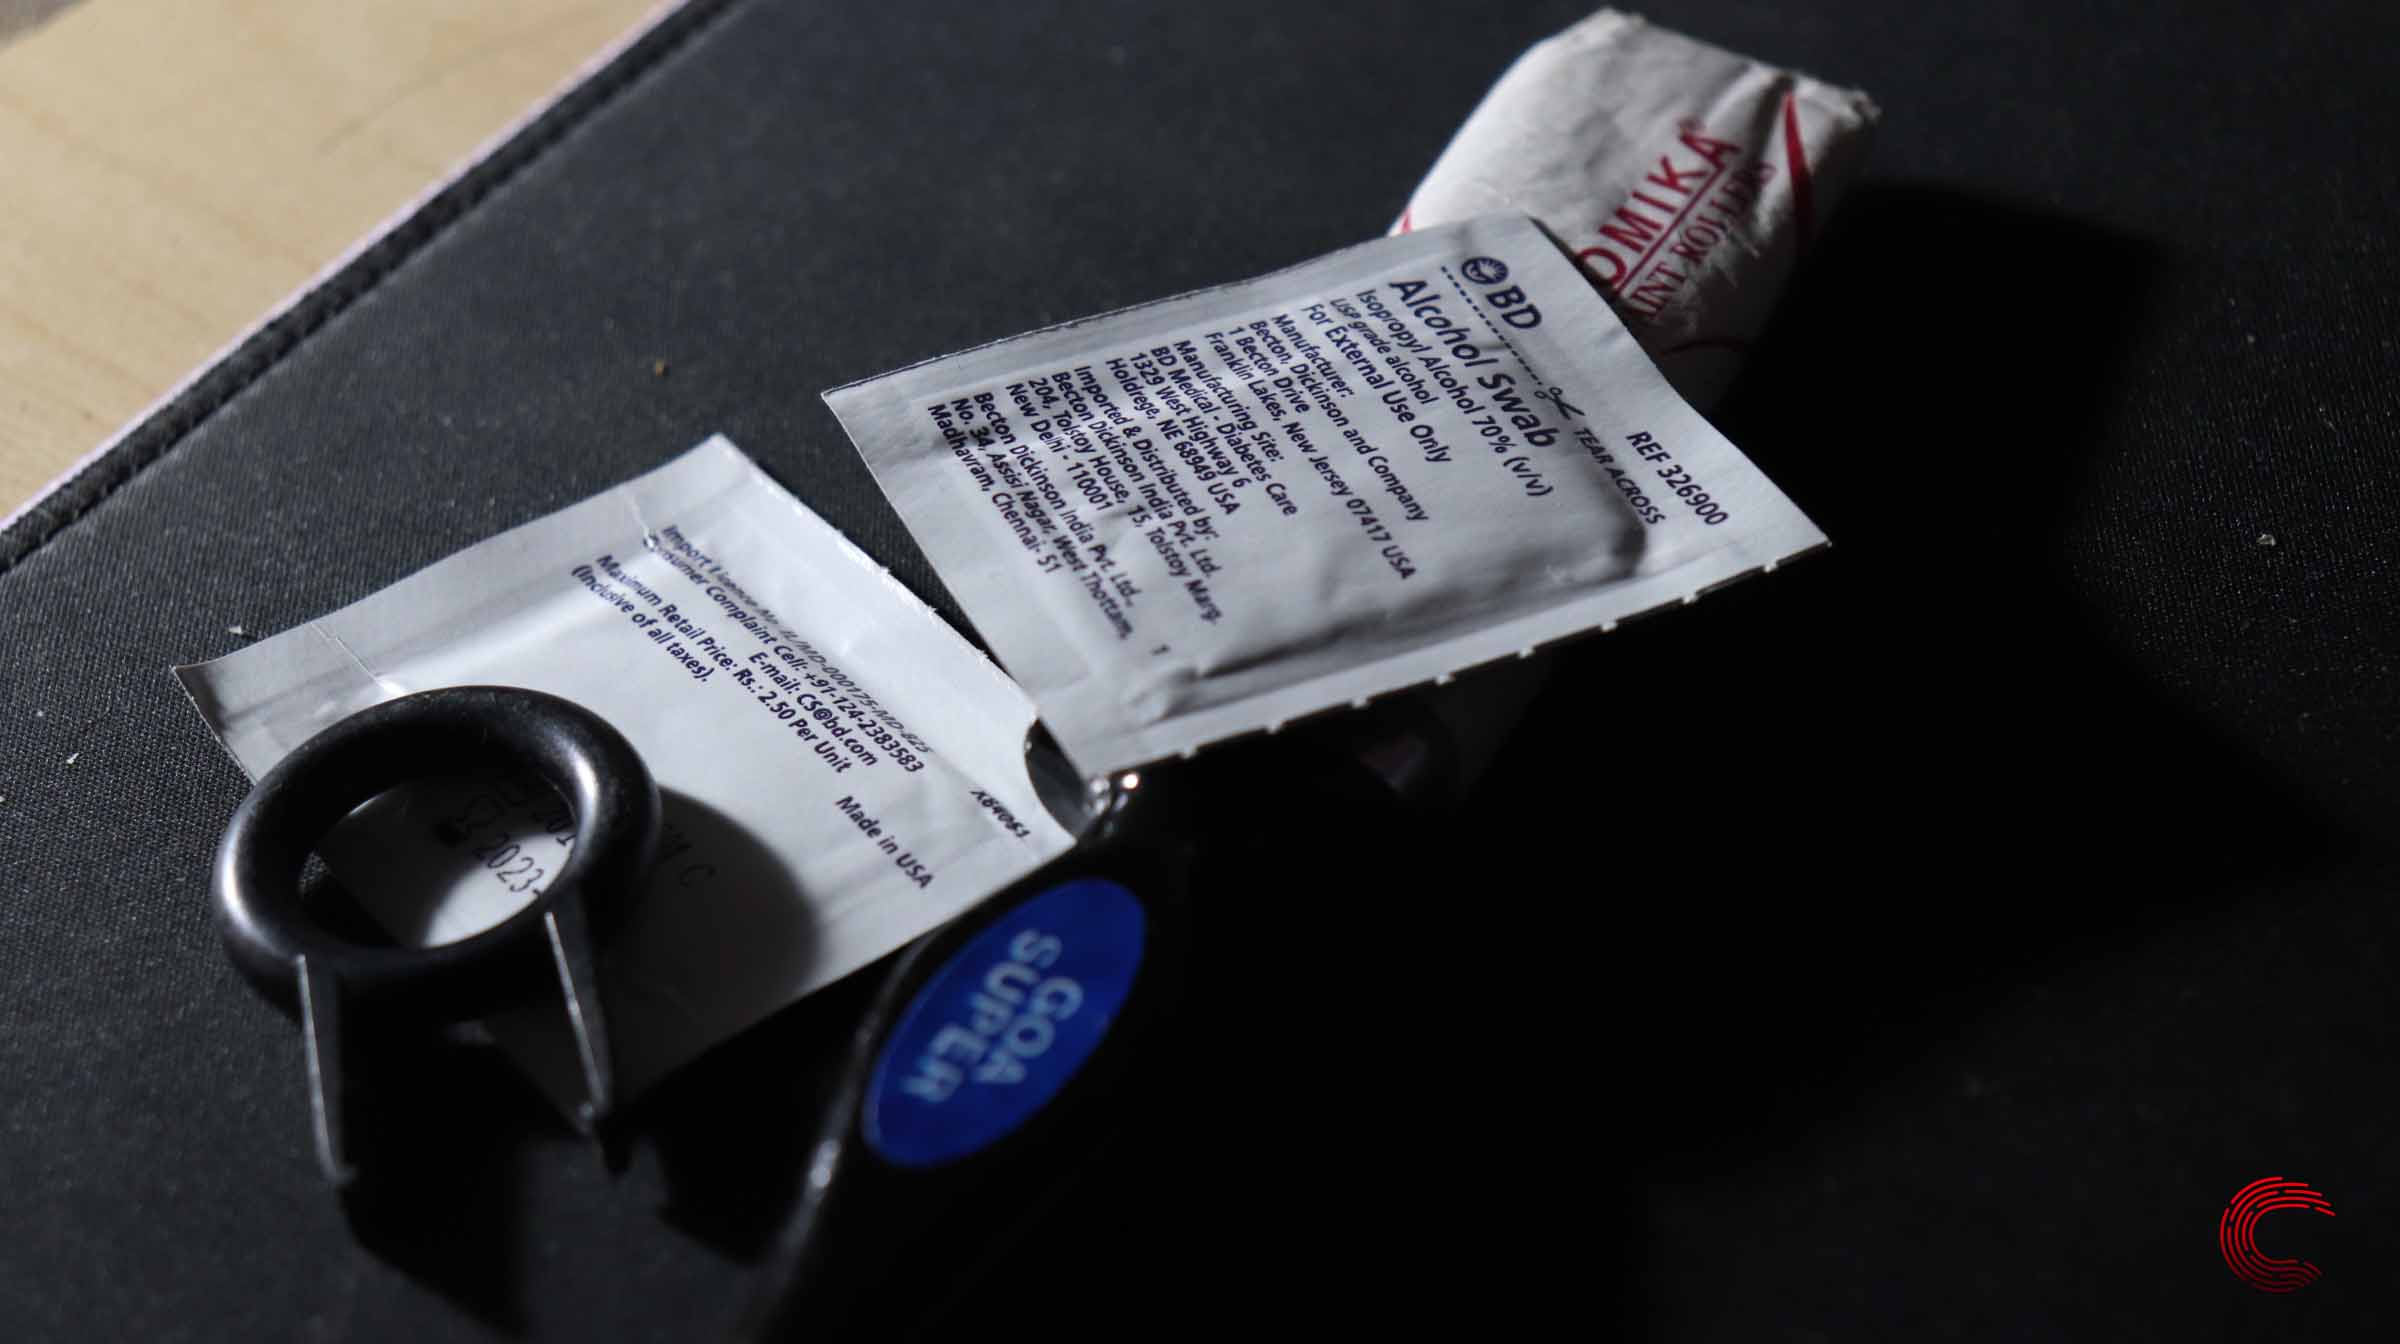
- A couple of alcohol swabs. They cost around 2 per piece and are available at most medical stores. Alternatively, you can use rubbing alcohol with some cotton.
- Some patience
- An excellent memory. Otherwise, take a picture of your keyboard, so you don’t mix up the keys when putting them back.
Now that you have all the necessary tools, we can get on with the cleaning, which is quite simple.
Step 1: Cleaning the keycaps
All those oily keycaps are the first layer for your mechanical keyboard cleaning process. To begin with, just start pulling all the keycaps out and store them someplace safe. If you want, you can dip your keycaps in a bowl of water with some dishwasher in it, and that’ll clean them out thoroughly.

If you’re like me, however, just wipe them with a microfibre cloth later.
Step 2: Cleaning the base plate
Once you’re done with the keycaps, give your keyboard a light shake to get rid of any big chunks that might’ve gotten in there. After that, use the brush to brush off the dust inside gently.

Once you’re done with the dust, take the alcohol swabs and run them around the edges and the base plate. This should also take care of any dirt deposits that might be there.
Step 3: Drying out the keycaps
Now if you’ve dipped the keycaps in water and dishwasher liquid, you’ll first have to rinse them in water for a couple of times. Once you’re done with that, just lay them out on a dry towel and let them dry out. Please don’t use something like a hairdryer to dry them as the heat can cause the keycaps to warp.
Step 4: Putting the keycaps back on
This is the longest process. So just put on some music, whip out that picture we took in the beginning and start putting the caps on one by one. Be sure to rub them with a microfibre cloth once before you put them up though.

And there you have it — a shiny clean mechanical keyboard.
Also read: RedGear MK-881 Mechanical Keyboard review: Is it the best in class?


