If you’ve been using your DSLR for quite some time, there might be a firmware update available for it. While keeping your camera software up to date is always a good idea, the process itself can seem daunting to some.
In this post, we will show you how you can easily update your Canon DSLR’s firmware.
Why should you update your Camera firmware?
More often than not, if you’ve bought a new camera, the software will likely have some bugs here and there. Most firmware updates are targeted at fixing those bugs.
Firmware updates can also really help increase the performance of your camera. No, it will not turn your 1300D into a Mark 1DX, but it’ll improve the camera subtly. Also, a firmware upgrade is a great way of fixing your camera should you mess with some settings and can’t get them right.
Note: The camera used in this post is the Canon 200D, but the process holds the same for all Canon DSLRs.
Also read: What is EXIF Data? Can it be removed from an image?
How to update your camera firmware?
Step 1: Go to the Canon Support website and select your model.

Step 2: Download the firmware file provided

Step 3: Extract the zip file downloaded in the last step. You’ll see a file with a .FIR extension. Move this file over to the root folder of your SD card.

Note: Ensure you’ve formatted the card beforehand or that no critical data is on the card during the update.
Step 4: Start your camera and review the firmware settings (colour-coded yellow).

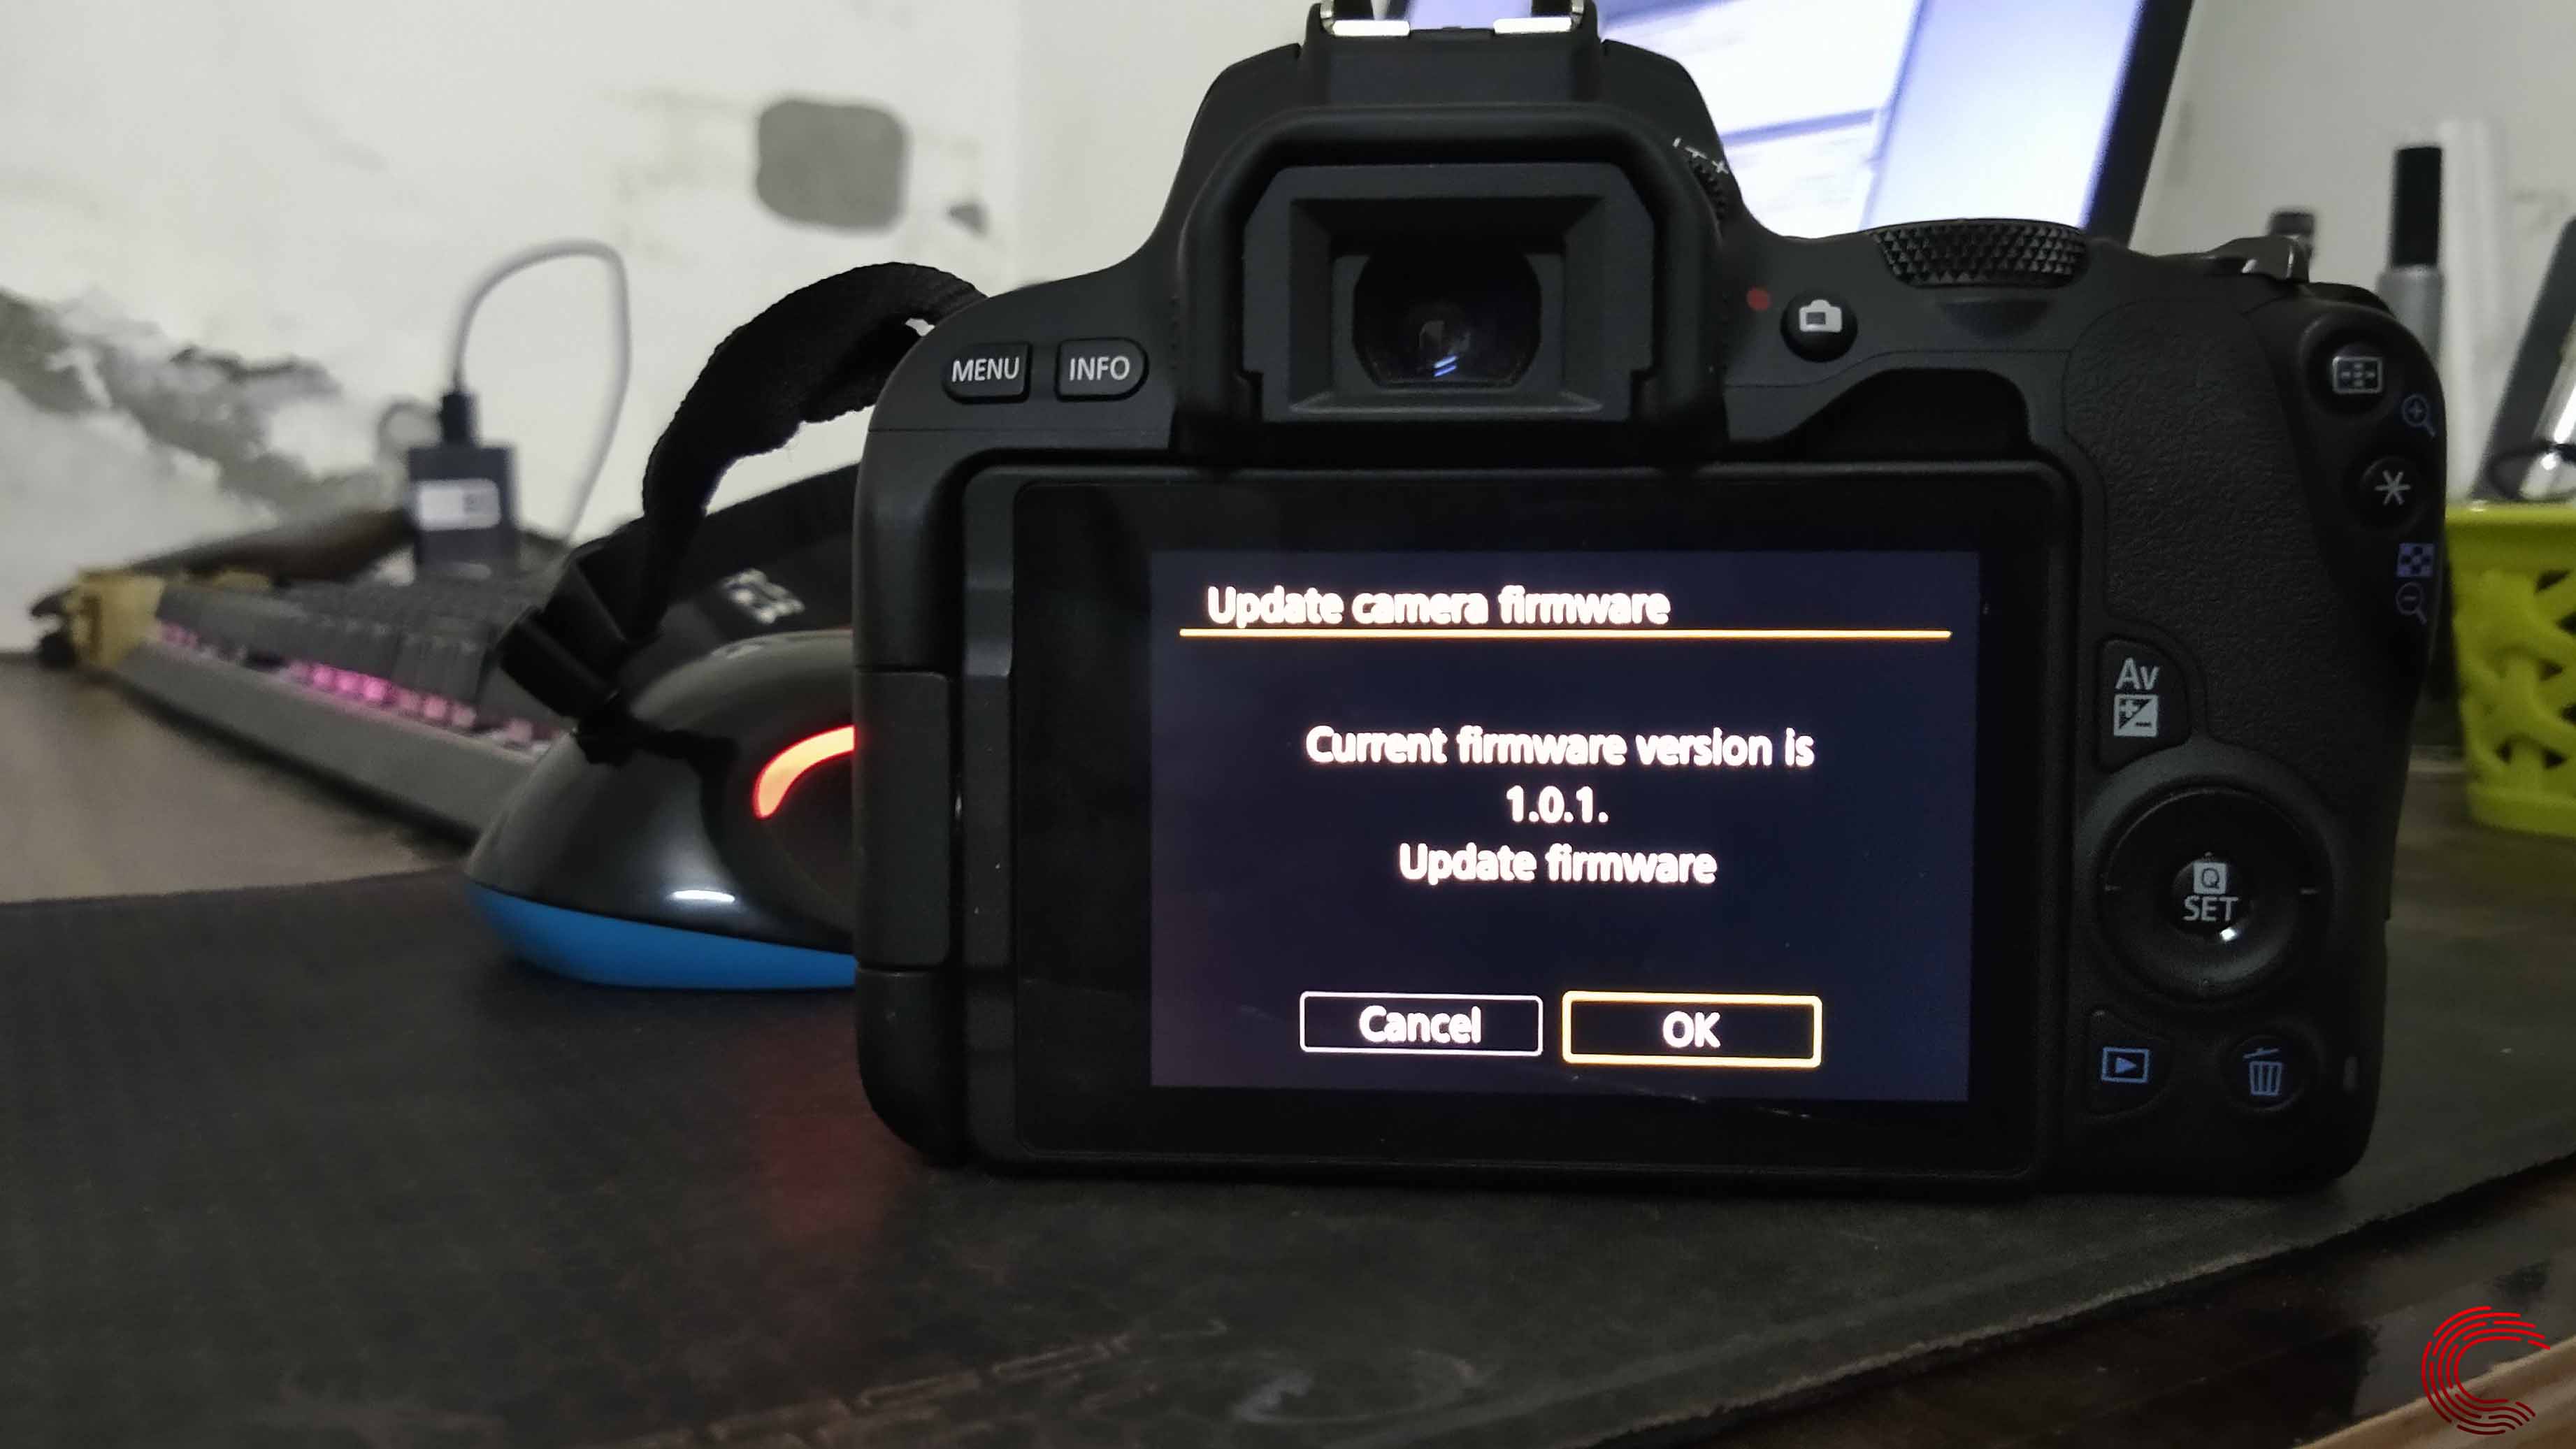
Step 5: Select the firmware option. You’ll see another version pop up in the menu. Select that to start the update process.

Then go ahead with the second confirmation by selecting OK.

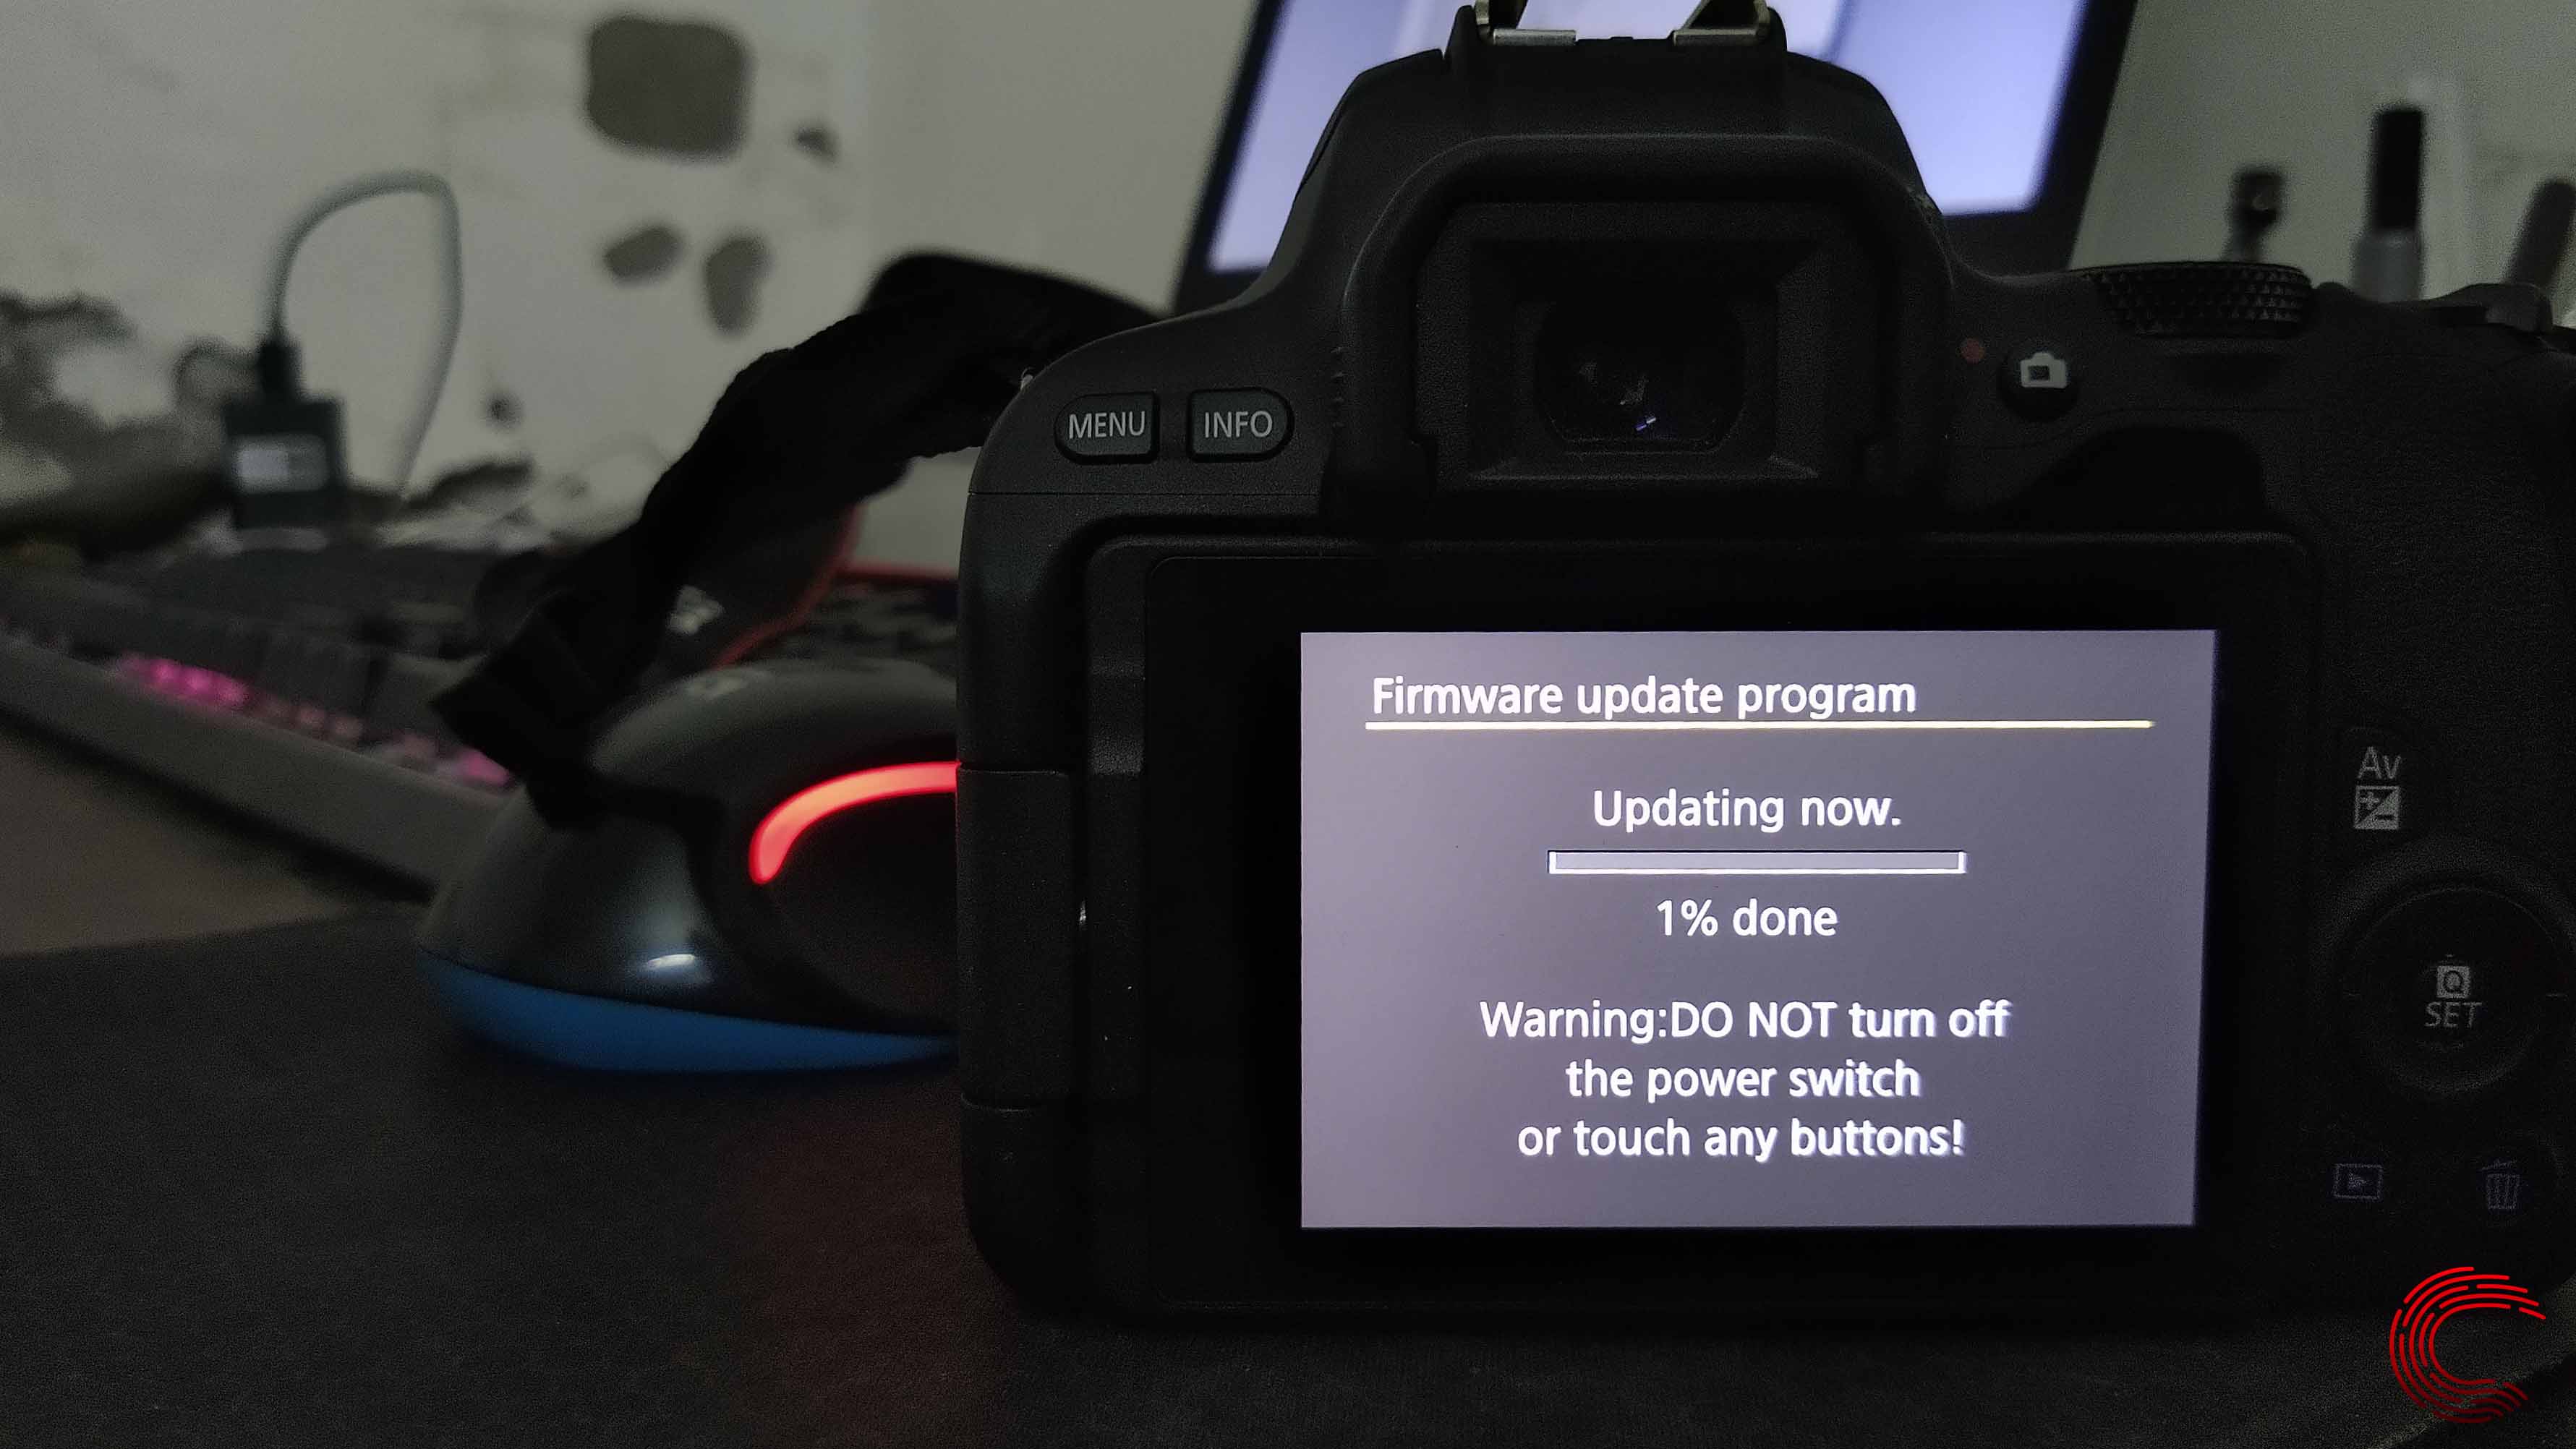
Step 6: Wait for the process to finish. It typically takes about 5-10 minutes. Don’t touch any buttons or turn off your camera during the update.

Also read: DSLR Maintenance 101: How to clean your camera sensor and lenses


