Java is perhaps the most common programming language for programmers and non-programmers alike. And for a good reason, almost everything runs on it. It is also the language using which most people start learning to code.
The widespread popularity of Java means that it’ll most probably already be installed on your system. However, if in case it isn’t, here’s how to install Java on Linux.
Also read: What is kernel in Linux?
Installing Java on Linux
Just like installing anything else on Linux, installing Java is also quite simple.
Removing OpenJDK
OpenJDK is an opensource version of Java that is installed on Linux systems by default. Should you decide to install Java on your system, you’ll have to uninstall OpenJDK first.
To do so, fire up the Linux terminal and enter the following command:
sudo apt-get purge open-jdk-\*

It’ll ask for a confirmation, press Y and you’re good to go. Now we can move on to installing Java on our system.
Also read: XAMPP vs LAMP vs WAMP vs MAMP
Installing Java
Now head over to the Oracle website and download the latest version of Java. Make sure that you download the right version according to your system architecture.
Once the download is complete, open a terminal and follow along.
Step 1: Navigate to the download directory and extract the downloaded archive
sudo tar -xvf [archivename].tar.gz

Step 2: Update system variables in the /etc/profile/ file.
To open the file, use the following command:
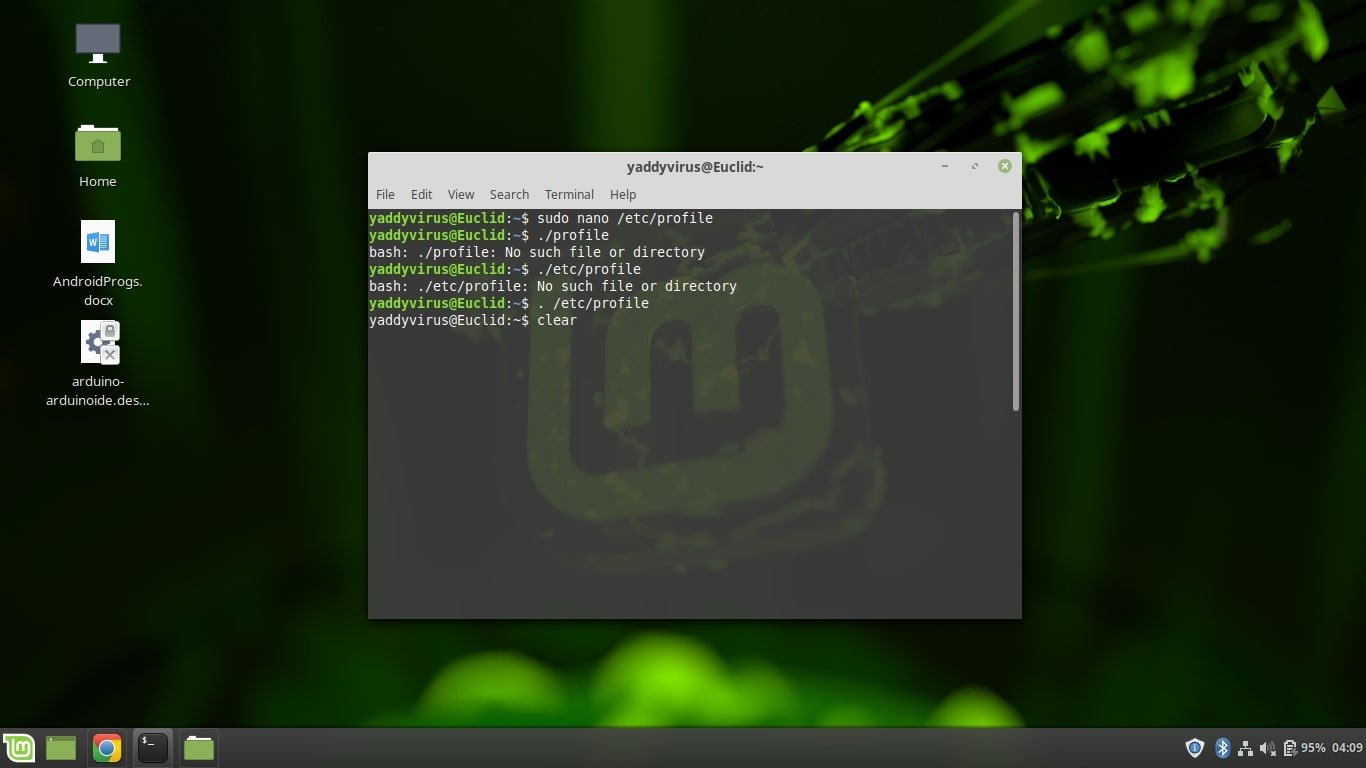
sudo nano /etc/profile
At the end of the file, add the following lines
JAVA_HOME=[Directory where Java has been extracted]/[foldername]
PATH=$PATH:$HOME/bin:$JAVA_HOME/bin |
export JAVA_HOME
export PATH

Press CTRL+X to save and exit.
Step 3: Reload the environment using:
. /etc/profile

Step 4: Now you need to tell your OS where your Java files are located.
Enter the following commands in the terminal after making the necessary changes:
sudo update-alternatives –install “/usr/bin/java” “java” “[Directory where Java has been extracted]/bin/java” 1
sudo update-alternatives –install “/usr/bin/javac” “javac” “[Directory where Java has been extracted]/bin/javac” 1

Step 5:Now we need to tell Linux that the installed version is the default one.
sudo update-alternatives –set java [Directory where Java has been extracted]/bin/java
sudo update-alternatives –set javac [Directory where Java has been extracted]/bin/javac

Step 6: Test out the installation using the following command:
java -version

If you see the following output, it means that your installation was successful.
Also read: Android development: Java or Kotlin?


