If you’re an ardent Linux user, you know that more often than not, if your system has an issue, one look at the system logs can help you figure things out. All system, boot and kernel log files are stored in one place for easy access to the user.
In this article, we’re looking at journalctl to see how we can read Linux logs.
Also read: How to shutdown Linux from Command Line?
Basic journalctl syntax
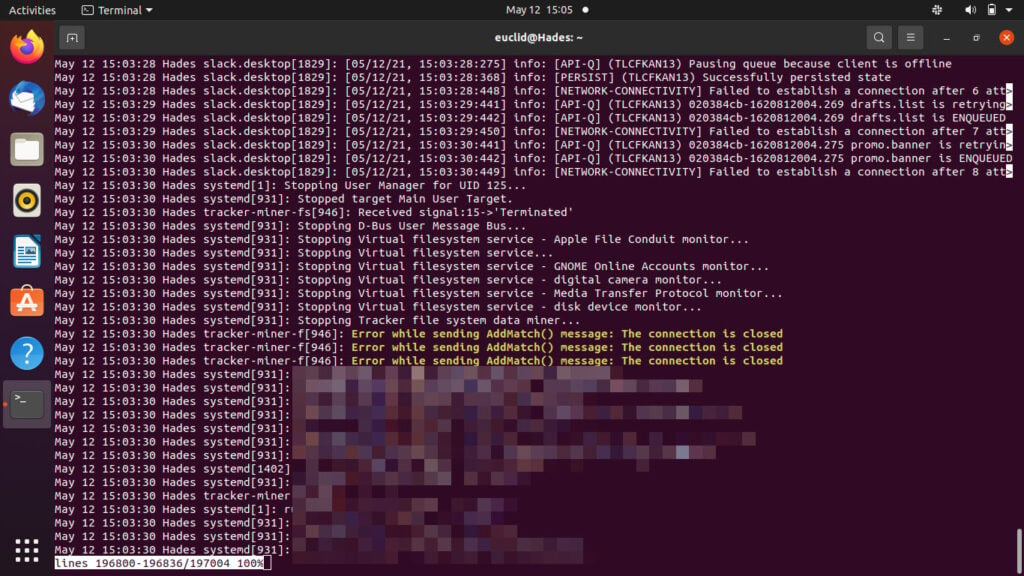
The command itself is straightforward to use. Just type journalctl in the terminal and press enter. You’ll see the entire log file containing any log entries. Note that the oldest entries show up on the top.

The list of log messages is showed in less, meaning you can use the usual navigation to move about in the file. You can also use the left and right arrow keys to move the terminal window around if a log message is too wide.
Pressing the End key will bring you down to the end of the list where the newest log messages are. Pressing Ctrl + C terminates the command.

Another thing to keep in mind is that even when you can run the journalctl command without sudo, running them in combination will ensure that you do not miss out on any admin level log messages. In case you want to limit the journal’s output or have it output straight to the terminal, you can use the -n (number of lines) and the –no-pager flags, respectively.

Also read: Linux Chown command explained
Additional journalctl flags
While the basic syntax for this command will give you all the information you could need, additional flags or options can combine with the journalctl command to control how the log entries are printed.
Display newest entries in realtime
You can use the -f flag to show any new log entries added to the log file.
sudo journalctl -fChanging the display format
By default, the data from the journal is parsed in something called the short format. This is very similar to the usual log file format we’re used to seeing.
To explicitly print logs in the short format, use the following command.
sudo journalctl -n 10 -o short
To get a complete date/time stamp, use the short-full flag.
sudo journalctl -n 10 -o short-full
To see the metadata that accompanies each log message, use the verbose flag.
sudo journalctl -n 10 -o verbose
You can get the journal output as JSON as well using the following command.
sudo journalctl -n 10 -o json
Or in pretty JSON using this.
sudo journalctl -n 10 -o json-pretty
Finally, if you want to see only the log messages without the timestamp, use this command.
sudo journalctl -n 10 -o cat
Selecting Log messages by time period
To review logs from a particular time period, you can use the -S (since) and -U (until) flags to specify a time period.
sudo journalctl -S "2021-01-12 07:00:00"
The above command will show you the log entries since the mentioned date and time. You can add an ending time using the -U flag as well.
sudo journalctl -S "2020-01-12 07:00:00" -U "2020-10-12 07:00:00"
Also read: Linux Sudo command explained
Reviewing relative time periods
You don’t always have to specify exact time periods. You can also give specifiers such as today or yesterday to fetch log messages as well.
sudo journalctl -S -2d
The above command will fetch all the log entries from the last two days until you run the command. You can use h, m or w to specify hours, minutes or weeks, respectively. You can also specify yesterday, today and tomorrow (yes, you read that right).
You can also combine these relative time periods using the aforementioned -S and -U flags.
Managing log file size
Obviously, as the log file grows in log size, it’ll also grow in file size. You can check your journal’s disk space usage by using the –disk-usage command.
sudo journalctl --disk-usage
You can limit the size of the journal using the –vacuum-size flag. It tells journalctl to cut down the log size but not to go below the mentioned size.
sudo journalctl --vacuum-size=150M
You can also delete messages based on the time using the –vacuum-time flag. For example, to remove all log messages older than a week, use the following command.
sudo journalctl --vacuum-time=1weeks
Also read: What is DF? How to check disk space in Linux using DF?
Selecting log data by fields
The data output from the journal comes in a bunch of different fields. You can use the _COMM flag to fetch log entries according to the specified app. Similarly, there are _PID and _UID flags to fetch log entries according to the mentioned PID or UID.
You can also combine these flags with -f to follow any new updates from the specified data field for that particular process.
However, do keep in mind that even though the journal might have many data fields, whether a given app will fill all those fields is totally up to the developers of the app.
sudo journalctl _COMM=note-app
Listing kernel or boot messages
If you only want to see messages from the Kernel in the log, use the -k flag.
sudo journalctl -k
In a similar fashion, you can fetch boot entries by using the -b flag.
sudo journalctl -b
You can also specify which boot you want to see the logs for. For example, typing -b3 will fetch logs from three boots ago. You can also list recorded boots using the –list-boot flag.
Also read: How to find large files in Linux?


