If you’re a web developer or are looking to set up a local server on your machine, running a local server configuration like XAMPP or Apache is one of the easiest ways you can achieve that.
However, if you’re not able to get to the localhost page, it could indicate a problem with your configuration or network settings. In this article, we’re taking a look at “Localhost refused to connect” and giving you a few solutions to resolve the error.
Why are you seeing the ‘Localhost refused to connect’ error?
There are several reasons why you might run into this error. At times, it’s just a permissions error where the server configuration files don’t have the permissions required to take effect, or it might just be something as simple as an incorrect installation. Some other popular reasons include
- Running WSL on a Windows Server
- Port 80 is occupied by another program
- Web server is running on the wrong port or any other port than port 80
- Localhost is not attached to 127.0.0.1
Also read: Getting Windows Ready stuck: 5 Fixes
How to fix the Localhost refused to connect error?
Here are a few solutions you can try out.
Access localhost using 127.0.0.1
If you’re trying to access localhost on your machine’s local IP address and it’s not working, you can try typing either localhost or 127.0.0.1 in the URL bar and trying to reaccess localhost.
Try accessing localhost with the port number
One more thing you can try with the URL is to add the port number to it to see if you can point it in the right direction. Add the port number as follows to the URL
localhost:[port number here]By default, Apache gets attached to port 80, but on some machines, it might get attached to 8080 or any other port if other programs already occupy those ports.
Restart your XAMPP installation
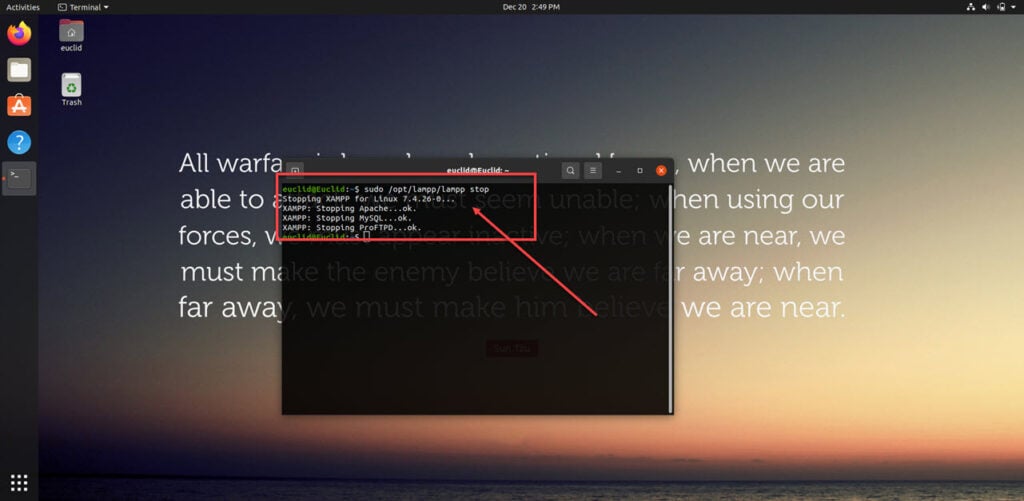
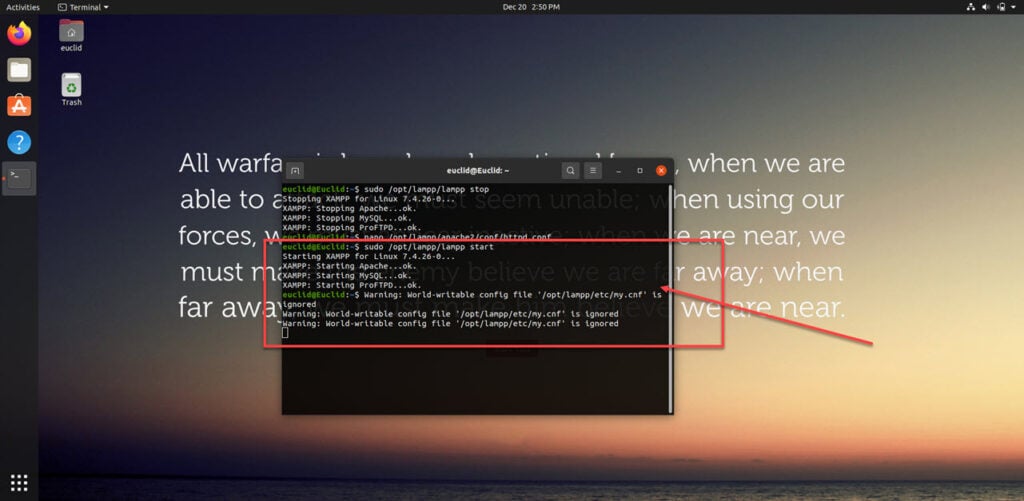
Restarting your XAMPP installation can also help eliminate any bugs or errors that might be causing conflicts for you. If you’re on Windows or Mac, restart the server from the XAMPP or MAMPP control panel. If you’re on Linux, enter the following commands one after the other pressing enter after each one.
sudo /opt/lampp/lampp stop
sudo /opt/lampp/lampp start
Also read: How to access command line history on Linux?
Allow incoming connections
Another thing you should make sure of, whether you’re on Windows or macOS, is to see if incoming connections are allowed to access localhost. Often, OS firewalls will block any incoming connections to protect your system, but they’ll also unknowingly end up blocking your access to localhost. So double-check to see if incoming connections are allowed by your firewall.
Check the Apache port number
Another thing you could do is to check Apache’s port number. Here’s how.
Step 1: Stop the Apache service by either opening up the XAMPP control panel and clicking the Stop button if you’re on Windows or using the command below if you’re on Linux.
sudo /opt/lampp/lampp stop
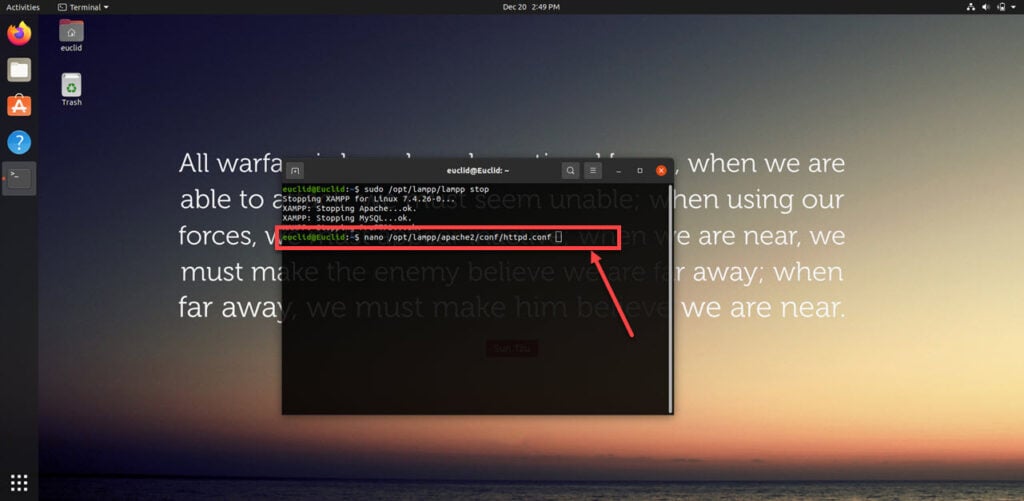
Step 2: Open the Apache configuration file located at:
- Linux: /opt/lampp/apache/httpd.conf
- Windows: C://xampp/apache/conf/httpd.conf
- Mac: Applications/mampp/apache/conf/httpd.conf

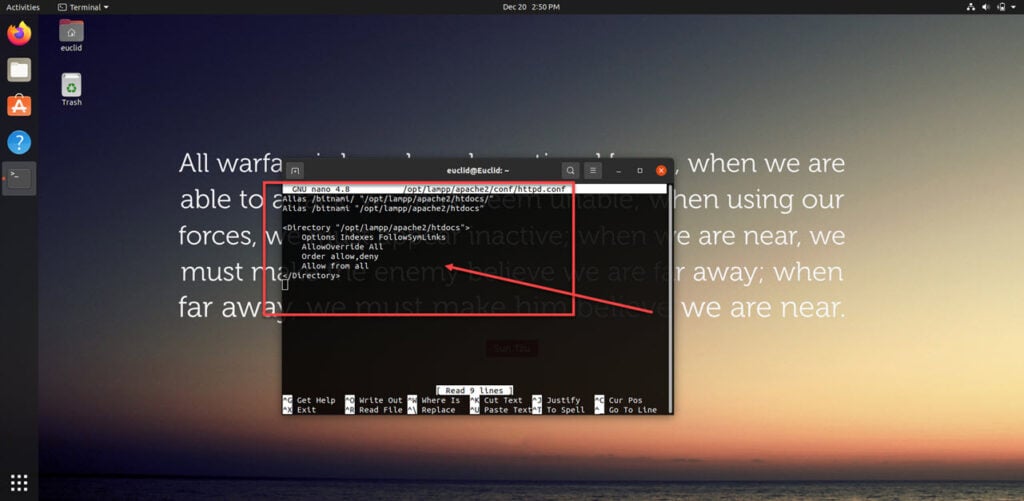
Step 3: Once the file is open, look for the following line
ServerName localhost:80And change this to the following. Note if you don’t see the line in your Apache configuration, feel free to go ahead and add them manually.
Listen 8080
ServerName localhost:8080
Step 4: Save the file with admin privileges and restart the apache service either from the XAMPP control panel on Windows or using the command below if you’re using Linux.
sudo /opt/lampp/lampp start
This should resolve your issue. If you believe the default port number (80) conflicts with any other app, this should resolve your issue. Feel free to assign Apache to any other free port that you might have.
Restart the LXSSManager Service (Windows)
If you’re running the Windows Subsystem for Linux to run or develop web applications, you can try restarting the LXSSManager service to see if that resolves your issue.
Step 1: Press Windows Key + R to open the Run prompt. Type services.msc and hit enter.

Step 2: Look for the LXSSManager service, double-click it and select Restart. If the service isn’t already running, click Start instead.

Once the service has restarted, your web server should start working fine.
Delete Visual Studio configuration files (Windows)
Visual Studio’s configuration files can sometimes mess up Apache’s configuration, causing your webserver not to respond. If you believe that’s the case, try deleting the configuration file in the .vs/config folder and see if that helps your cause.
Also read: How to fix ‘Sudo command not found’ error on Linux?


