Linux and its distros are known for their hassle-free installation procedures. However, it doesn’t always go down like that. Most Linux distros, including famous ones like Ubuntu and Kali, are notorious for their inability to detect WiFi cards.
There isn’t anything wrong with the distros, just a bit of a mix up with the drivers’ installation, something you can quickly fix with a few commands in the terminal.
Also read: How to run Linux on Android devices?
How to fix the Ubuntu no WiFi adapter found error?
First up, we need to check if the OS is detecting our WiFi adapter. If you’ve got an internal (PCI) WiFi adapter, run the lspci command and see if you’ve got the WiFi adapter in the list of devices. For USB WiFi adapters, run the lsusb command.
Once we’ve established that the OS is detecting the WiFi card, we can install the required drivers.
Getting Realtek rtlwifi codes
This method is recommended for people with Broadcom WiFi adapters commonly found in HP laptops and all-in-ones.
Step 1: Launch the Ubuntu Terminal and run the following command.
sudo apt-get install linux-headers-$(uname -r) build-essential git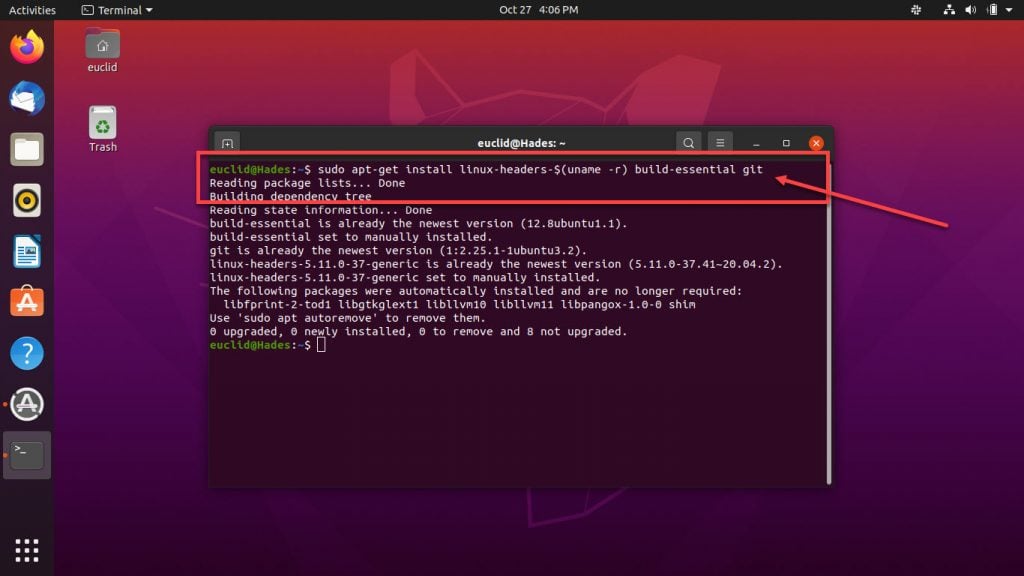
Step 2: Now, we’re going to clone the Git repository for Realtek codes. If you don’t have git installed, you can do so by typing sudo apt install git. Once Git is running, run the following command.
git clone https://github.com/lwfinger/rtw88.git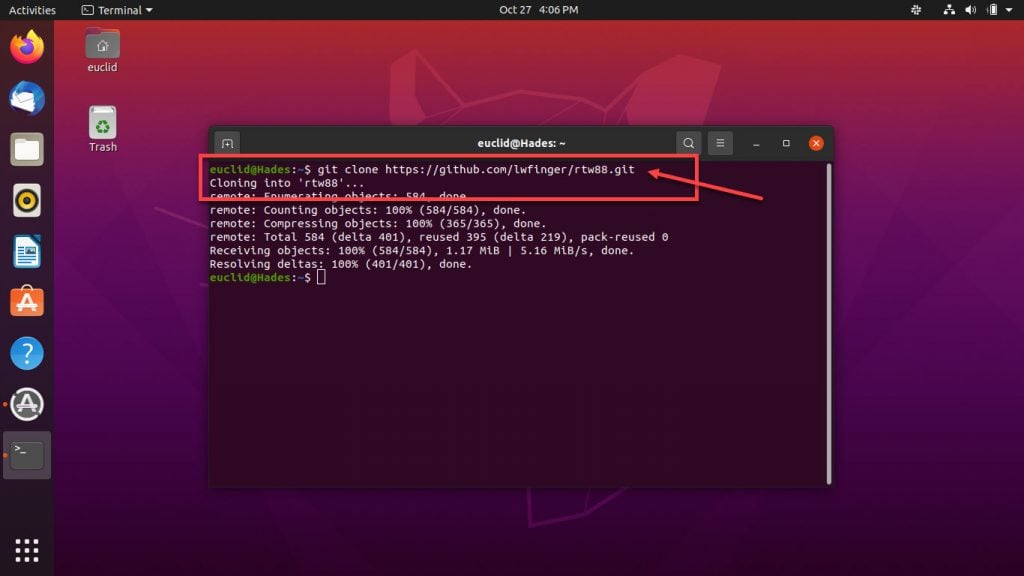
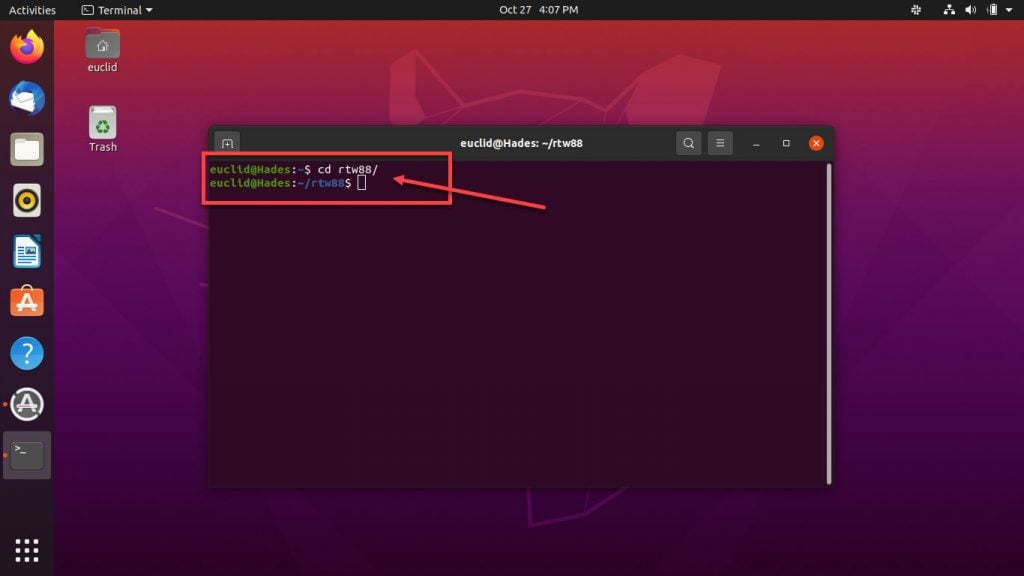
Step 3: Enter the directory we just made using cd rtw88/
Step 4: Install the drivers by running the make command. If you get an error saying make command not found, run the commands below.
sudo apt-get install make
sudo apt-get install make-guile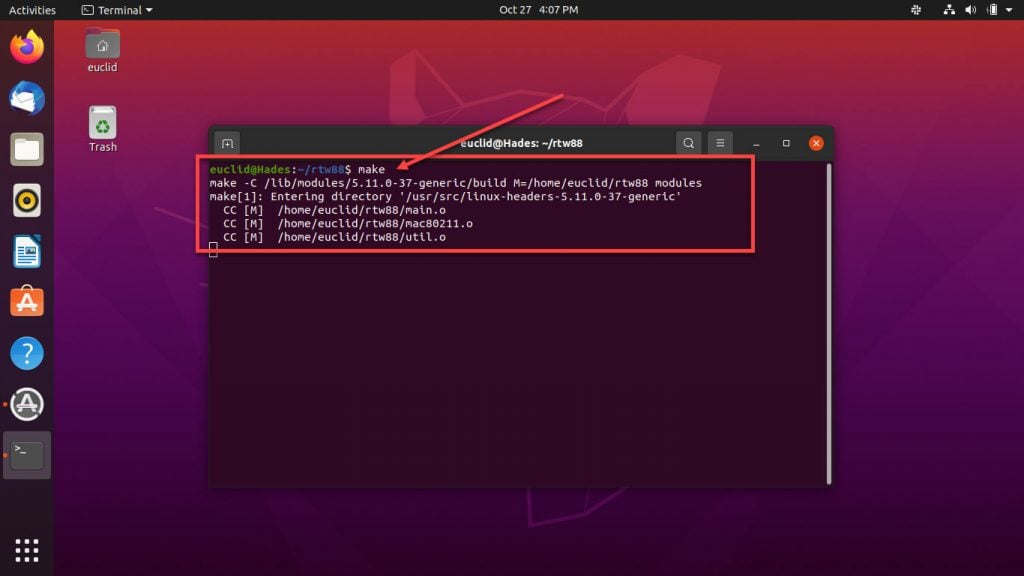
Step 5: Execute the sudo make install command to finish the installation.
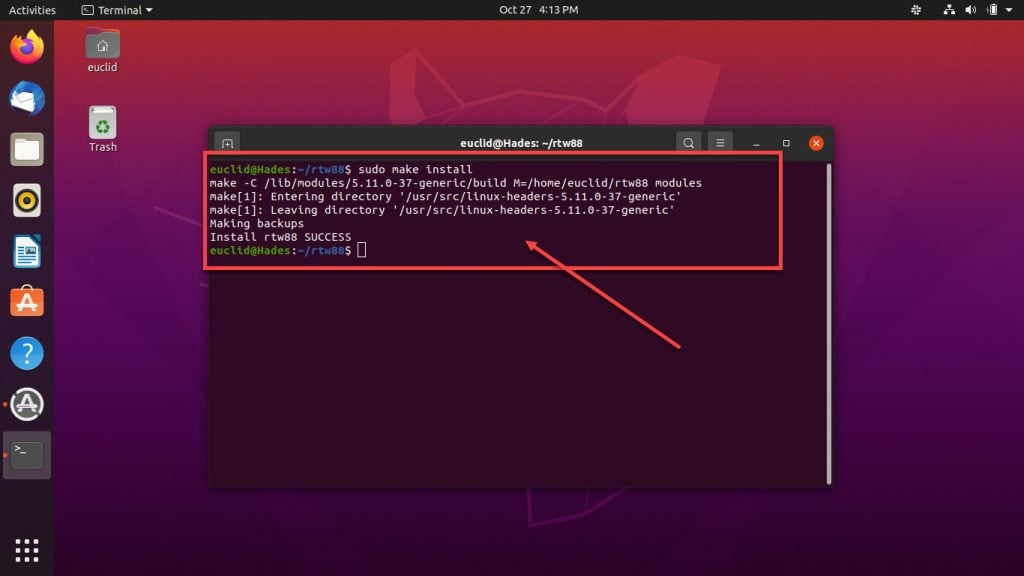
Step 6: If the process completes successfully, load the new drivers using the commands below.
sudo modprobe -r rtl8723de
sudo modprobe rtl8723dehould
If the WiFi card still isn’t working, try blacklisting the existing Broadcom drivers using the commands below.
sudo apt purge bcmwl-kernel-source
sudo sed -i '/blacklist bcma/ d' /etc/modprobe.d/blacklist.conf
sudo sed -i '/blacklist brcmsmac/ d' /etc/modprobe.d/blacklist.conf
Restart your PC, and the WiFi adapter should work just fine. If you’re getting weak signals, run the following command.
sudo modprobe -r rtl8723de && sleep 5 && sudo modprobe rtl8723de ant_sel=1Also read: Ubuntu software centre not loading: 5 Fixes
Use the Ubuntu ISO image
While the method doesn’t require internet access, it might not work for you as it involves installing proprietary drivers, which are most likely already installed on your system, to fix the Ubuntu no WiFi adapter found error.
Before you start, make sure that you have the Ubuntu installation ISO saved in your home directory.
Step 1: Launch the terminal and run the following commands to mount the ISO. If you have an internet connection, you can skip this step.
sudo mkdir /media/cdrom
cd~
sudo mount - o loop [name of ISO file].iso
Step 2: Head over to the menu and search for Software & Update. Open the tool to proceed.

Step 3: Click the Ubuntu Software tab and check the Installable from CD-ROM/DVD checkbox.

Step 4: Head over to the Additional Drivers tab, check any proprietary drivers available and click Apply Changes.

Once the installation is complete your WiFi card should come back to life. Note that if you see a message saying no proprietary drivers are available, this method won’t work for you.
Use the Broadcom wireless drivers
This method is meant for systems that support Broadcom 43 series drivers.
Step 1: Remove existing Broadcom drivers by running this command.
sudo apt remove broadcom-sta-dkms bcmwl-kernel-source
Step 2: Install the BCM43 series drivers using this command.
sudo apt install firmware-b43-installer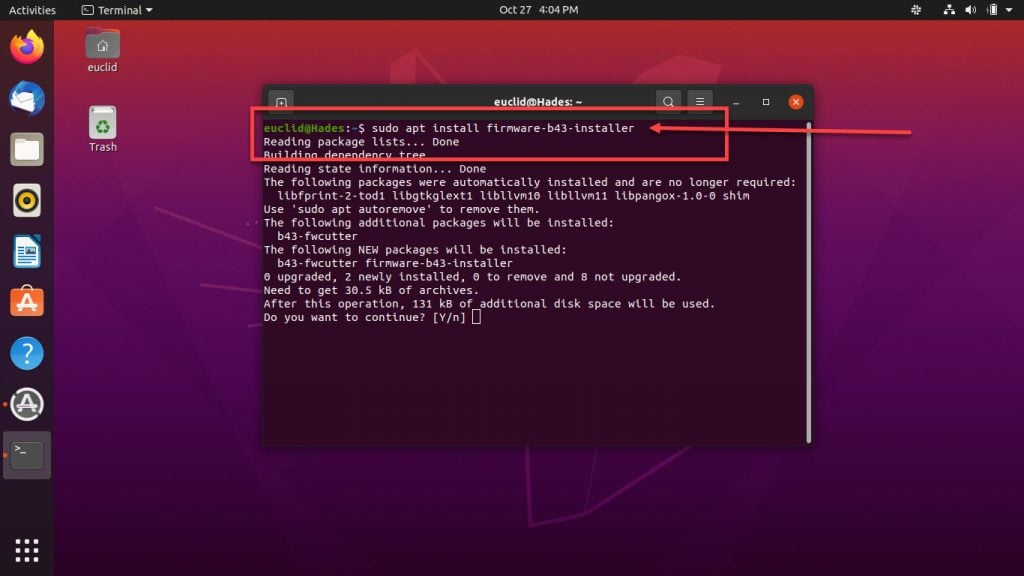
Your WiFi card should start working properly, and the Ubuntu no WiFi adapter found error should be resolved.
Also read: What is Linux Booting Process?

