An old video may hold a moment that you can’t recreate. Maybe it’s a family recording from years ago, a clip from a digital camera or footage you want to use in a new project. But the footage comes with its usual problems: blurry faces, fuzzy details, and compression that makes everything look worse. Well, the memory still holds up _ it’s just that the video has become low resolution. Faces lose texture, and footage that was once perfect has now lost quality.
You can increase your 480p video to 1080p, but do not expect increased quality if the video is shot poorly. Let’s go through the process step by step, from choosing the right conversion method to checking the final results.
Inspect the original video before converting it
Before uploading your clip, find out what you are working with. You don’t want to process the video first and then discover that the real problem was heavy compression and an awkward aspect ratio. Don’t forget to check blurry details, visible compression, and any changes in image proportion. Now move on to see what you are dealing with, including resolution, frame rate, file size, and codec. This will help you to compare the original and exported version.
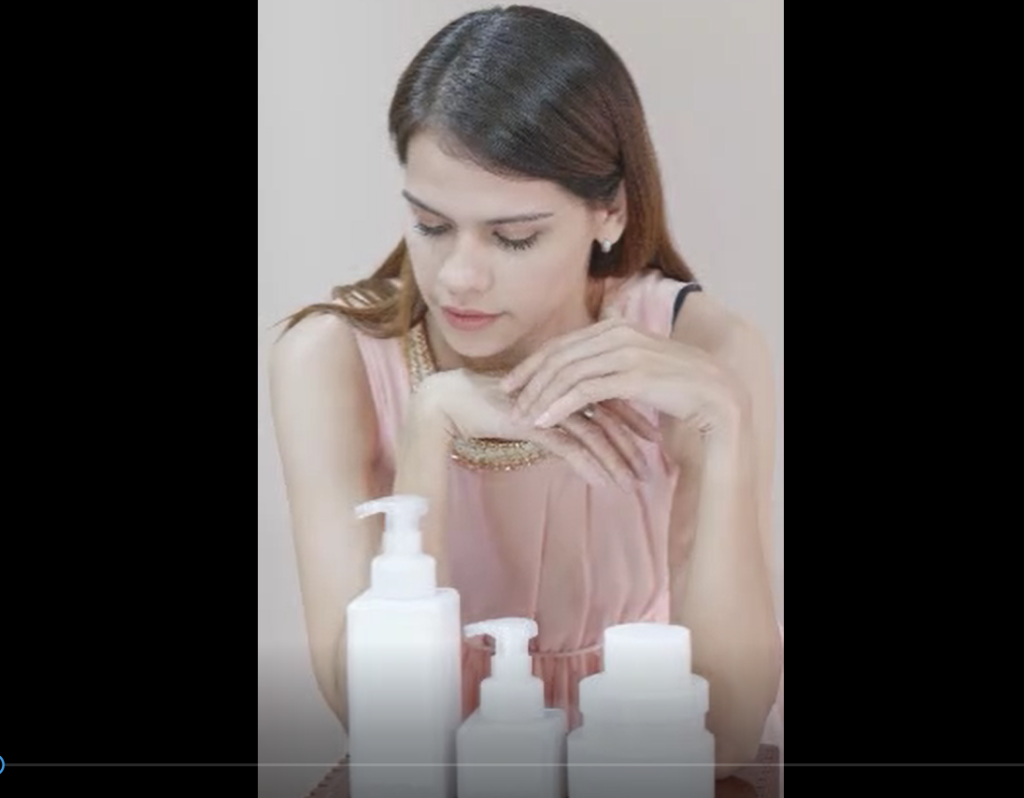
Start with the short video of the skincare product. The original clip measured 480×854 pixels, ran at 25 fps, and had a file size of 1.47 mb. We will use these details to compare with the 1080p video.
Keep the original file safe
Don’t risk the original video just to test if the upscaling works. Make a duplicate before you start pushing the pixels. So, if the upscaling looks fake, with unnatural or unreal details, you can ditch the result without losing the original file. You will need the original clip for the final comparison, where the enhanced version has to prove that it deserves to replace the old one. Once your file is backed up, you are ready to put the video in the upscaling tool and see the results.
Before
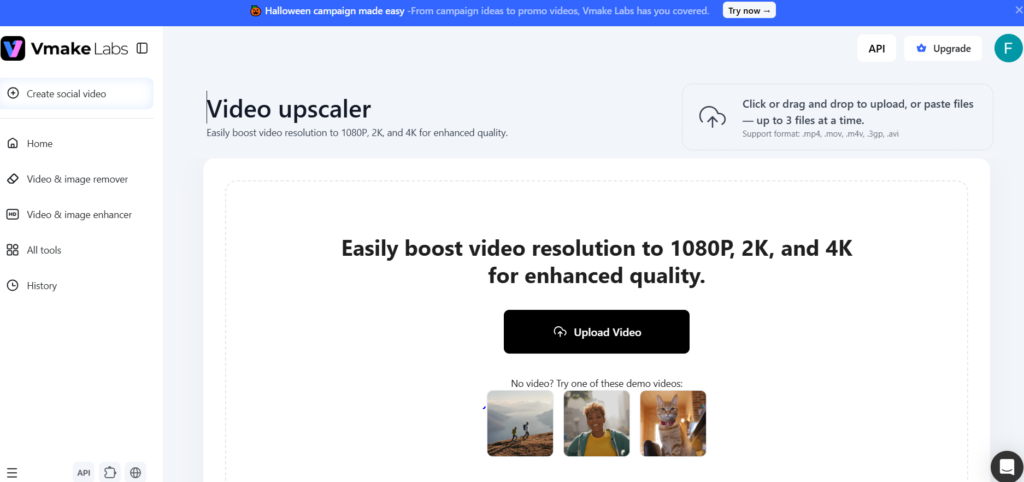
Upscale the clip with Vmake Labs
A low-resolution video doesn’t have to stay stuck looking that way. Here, an AI video enhancement tool can upscale the footage to higher resolution and attempt to improve its appearance. But not every tool does the job equally, so a real test is seeing what changes in your original clip.Vmake Labs offers an AI video upscaler that lets you bring clips into the workflow via file uploads and link imports. It’s a web-based tool, so you won’t need to download an app to use it. It enhances video quality to 1080p, 2K, and 4K in just a few simple steps. Upload the video, select the quality, and get the results you have been looking for.
Our Skincare clip starts at 480×854 pixels, 25 fps, and 1.47 mb. After uploading it to Vmake Labs labs, we will select the 1080 option from the available ones. Once processing finishes, we will save this version and export it to a separate folder. But before we start, we need to check what Vmake Labs delivered to confirm it actually improved the footage. After checking the quality, if the quality still looks blurry then can use Vmake Labs HD video converter otherwise, it’s ready to use.
Put the Original and Export Side by Side
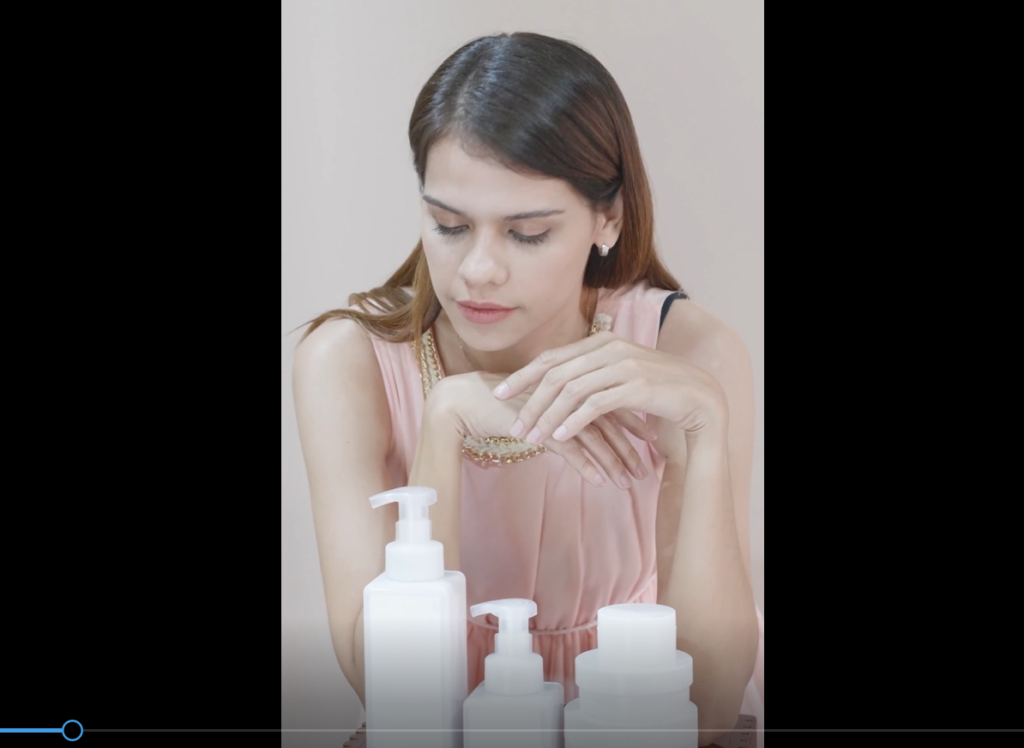
The export is ready; the resolution is higher, and the settings look promising. But checking what was enhanced is the main point here. Put the original and exported clips together and see what actually changed. Check everything, like resolution, size, and video format, to make the difference clear. Well, we started with the 480p video, and after enhancement, the exported file is 1080p. That’s a notable jump, but the numbers alone don’t tell us what happened in the video. Now, the exported clip looks clearer, and the product details are easier to see. The image looks sharper and more polished, which makes the old video look better. The frame rate stayed the same in both versions. The main difference was the higher resolution, and the file size increased from 1.47 MB to 4.43 MB.
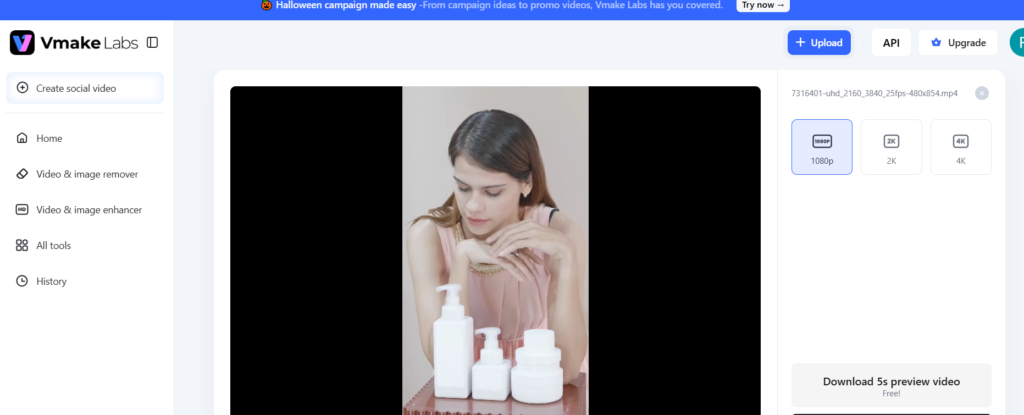
Decide Whether the Upscale Is Worth Keeping
Now let’s see whether our updated version is a useful upgrade, or just a bigger file to carry around. Check what changed before making any judgments. The original clip was 480×854 pixels and 1.47 MB. After processing it in Vmake Labs, the export measured 1080×1920 and came out at 4.43 MB. Now what does that mean? Upscaling an old video isn’t about making the numbers; it’s about making the footage more usable.
After
In our exported version, the clip looked cleaner and sharper, keeping the product quality enhanced. It’s useful when footage looks soft, and details are harder to see. Of course, product colours should stay accurate, textures shouldn’t become unnaturally smooth, and edges shouldn’t develop distracting halos. Our video also kept the original 25 fps frame rate, so playback rate stayed the same.
When upscaling can’t save the shot
Got an old video that’s blurry, shaky and barely showing the product properly? Then don’t expect a 1080p export to fix everything. Upscaling adds pixels; it doesn’t fix camera problems. Review lighting, movement and other details before uploading every old clip to Vmake Labs.
Then upscale a short sample and compare it with the original. If the results look better, great _ you have made another use of your old footage.
So, Is 480p to 1080p Worth It?
Your old video doesn’t have to remain in 480p quality. But before you upgrade every clip in your folder, remember that a 1080p label doesn’t mean stunning video. Your original footage decides the results. Upscaling gives you a reason to use old videos by improving their quality through Vmake Labs. Make sure after upscaling it looks clearer, keeps all the important details, and doesn’t look unnatural. Choose clips carefully, then compare the rest.
This is a sponsored article. Candid.Technology had no part to play in its creation. You can read more about our Editorial Policy here. You can contact our advertisement team here: advertise@candid.technology