Often during editing a picture, you might come across the need to change the colour of a particular object in the image. This is especially useful when editing images for a product shoot or if you’re into doing shoots for advertising.
There are several ways you can achieve this, some more complicated than others. In this article, we will cover one of the most basic and quick methods of changing colours in an image.
The Colour Replacement tool
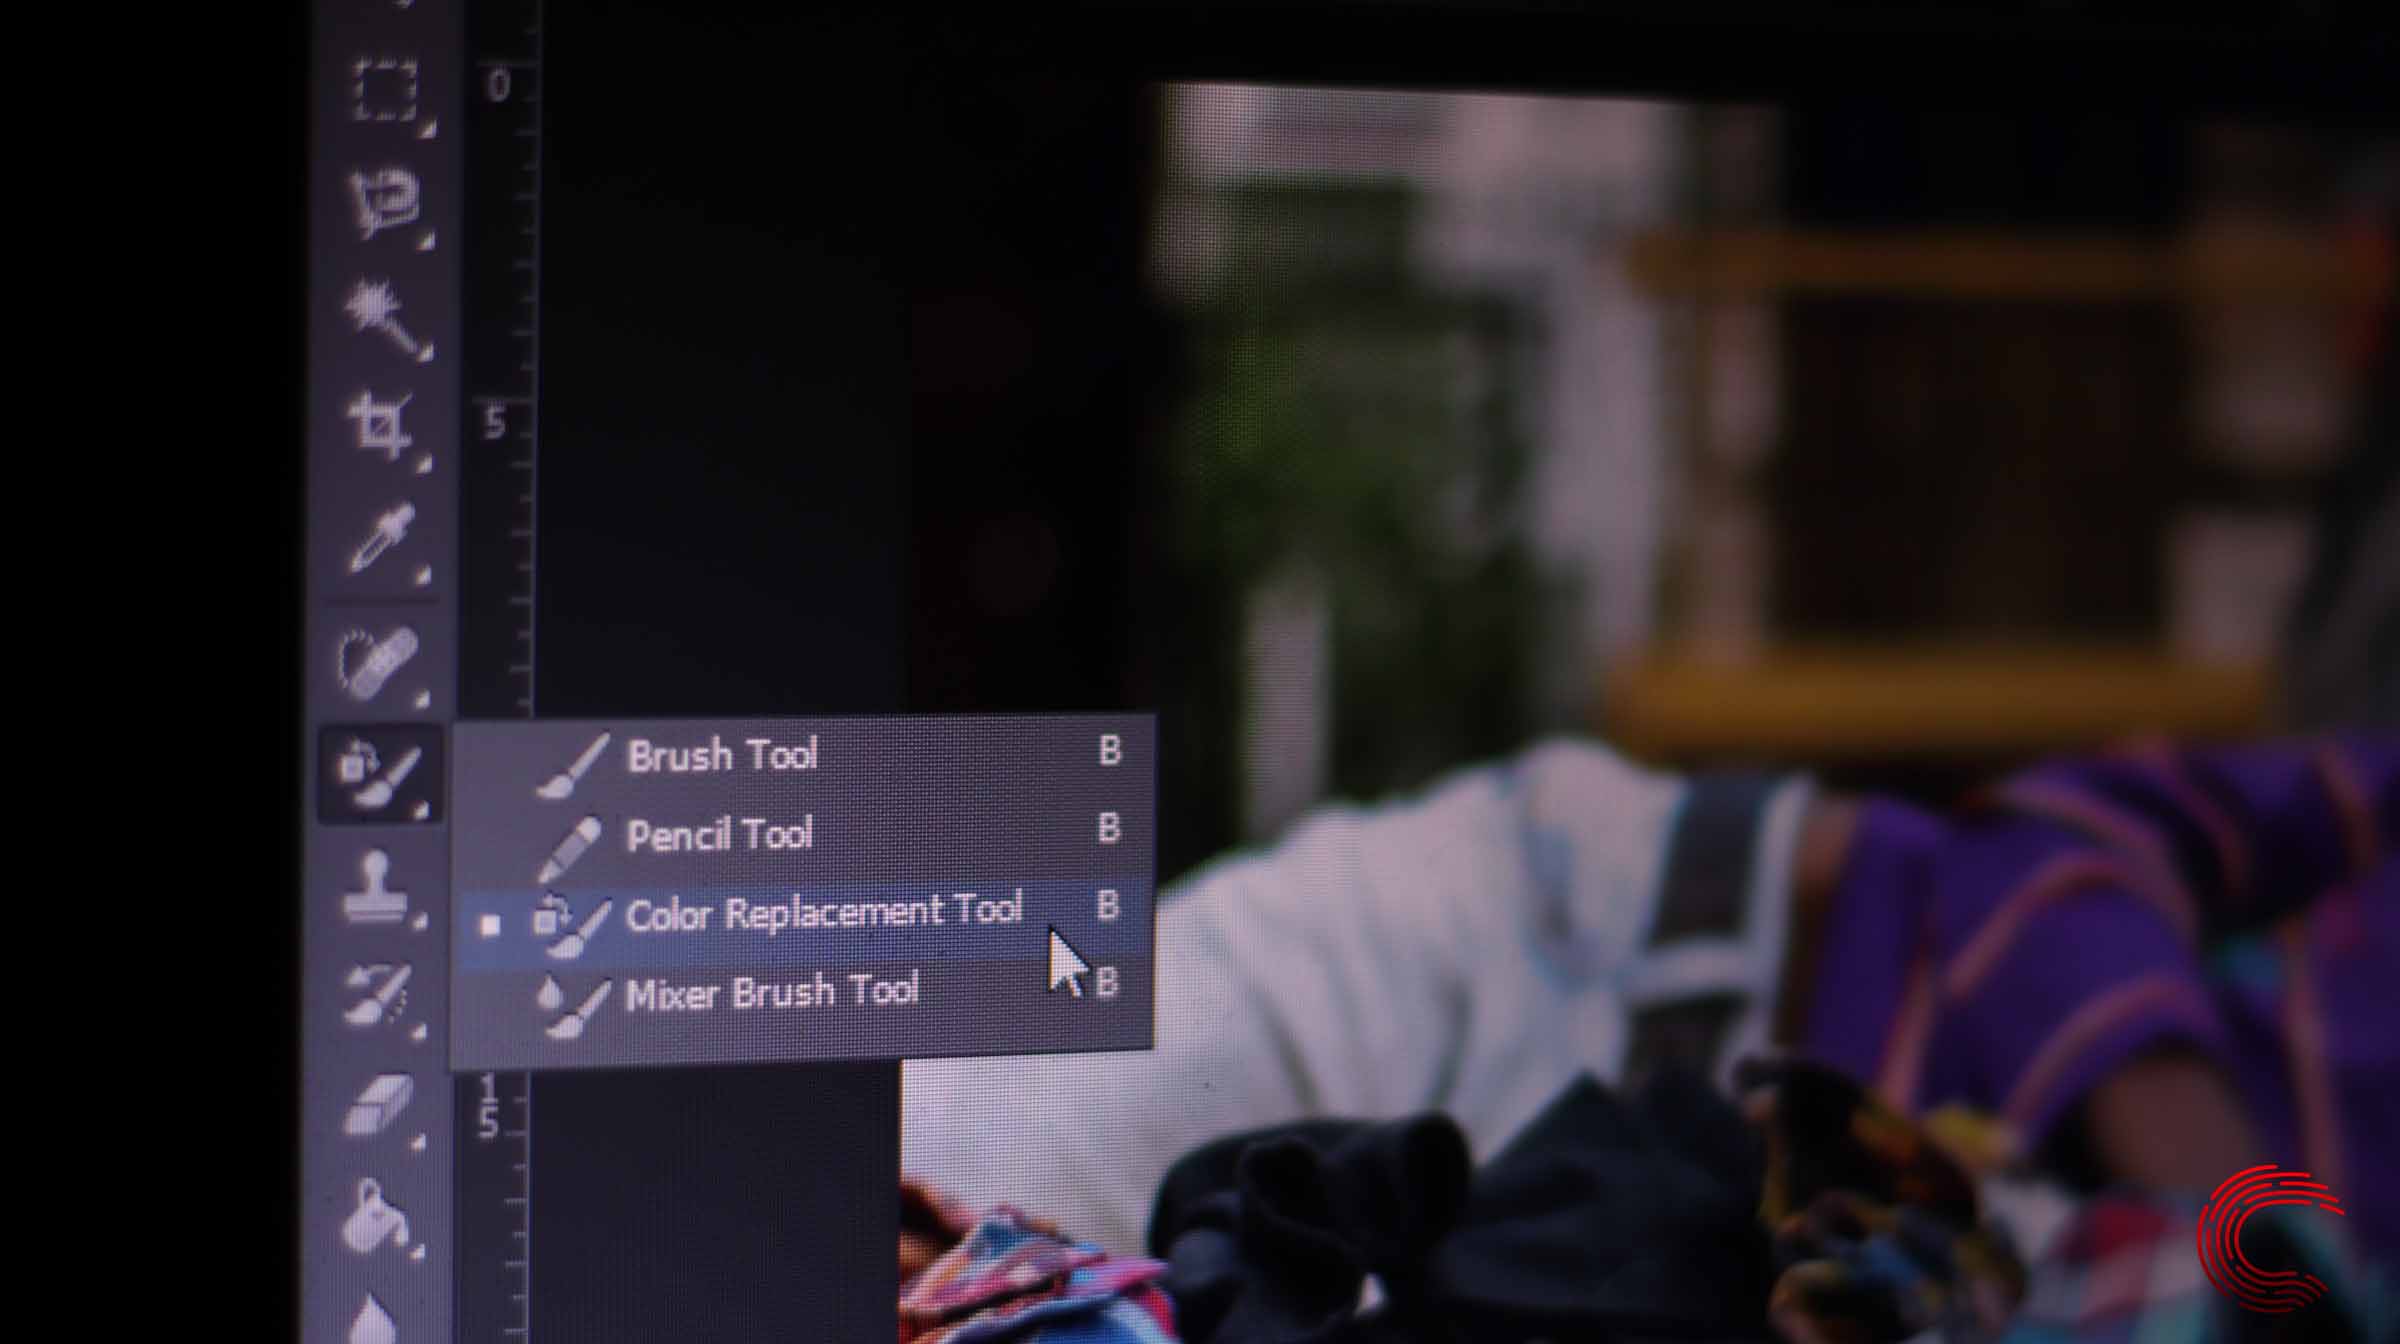
Nested under the brush tool, there’s a hidden gem called the Colour Replacement tool, and yes it does exactly what you think it does. This tool can save you a lot of time and effort, especially if you’ve just started using photoshop.
Right-click the brush menu, and you’ll see four options. Select the Colour Replacement tool from the fly-out menu. You’ll notice that your cursor will change to a circle with a crosshair in between. If you’re familiar with the background eraser, you’ll feel right at home.

Now adjust your brush accordingly. You can do this on your keyboard by pressing the left and right square bracket ([ ]) keys. Now you’re ready to swap colours.
Also read: Photoshop 101: Five tips and tricks for beginners
How does it work?
As you’ll drag the cursor around the image, Photoshop will sample the colour directly under the crosshair of your pointer and change it with your foreground colour. The sample colour is taken from the crosshair, and every pixel that falls under the circle gets altered.
It all goes all well and good until you reach the edges. Here, you’re going to run into problems in case your crosshair goes over to some other colour. If you can avoid that, you still might end up with jagged edges.

To avoid this, play around with the ‘Tolerance’ setting. A higher tolerance will give you better edges, but too high a tolerance can result in weird artefacts. The default value is 30, which serves as a good starting point, but in most cases, you’re going to have to change it.
And that’s pretty much it. You’ve successfully transformed the image.
How is it different from the Brush tool?
You might have noticed that the colour replacement tool works exactly like the brush tool. So why not just use the brush tool instead?
You see, the brush tool simply paints a particular colour on the image without taking into account the various factors like reflections, shadows and luminosity of the area being painted. The colour replacement tool uses blend modes instead to preserve the properties of the area it’s painting.
It has four blend modes in total — Colour, Saturation, Hue and Luminosity. As you can guess, each blend mode specialises in a particular type of property. The default mode is colour, and for the most part, it’ll get your job done. However, in case you want to take things on differently, it’s always good to have options.


