If you are a content creator, you know how great Canva is. It is super easy to use, and its drag and drop approach to graphic design is changing the content creation ecosystem.
That said, there were some things that Canva was not so great at, and one of them was curving text. All that changed when Canva released its text curving tool, making curving text a piece of cake.
So, if you want to add curved text to your designs and don’t want to pull your hair by individually placing alphabets in a curve, you can use the curve tool in Canva.
This article will guide you on how you can curve text in Canva and make your designs look unique.
Also read: How to remove background in Canva?
Curving text in Canva
Curving text in Canva is easy; all you need is a free Canva account, a design idea and in a few clicks and your imagination will come to life. Follow the steps given below to curve text in Canva.
Step 1: Visit the Canva website and login into your account.

Step 2: Click on Create a design and select a layout for project

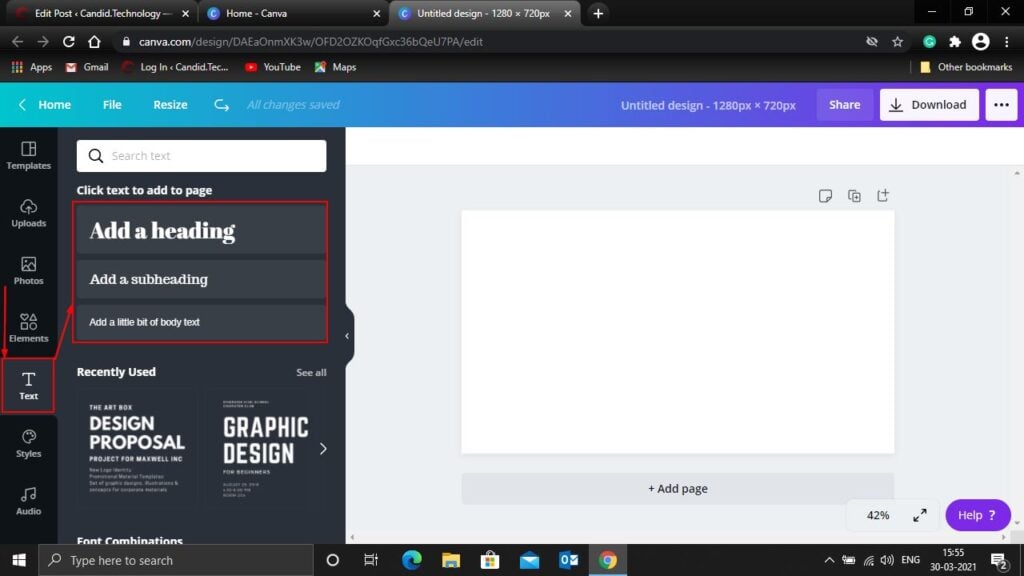
Step 3: Click on Text and select the kind of text you want to add to your design.

Step 4: Type the text in the textbox, and click on Effects in the top right corner

Step 5: Click on Curve in the new dialog box which appears on your screen

Once you have curved the text in your design, you can change the curvature’s magnitude by adjusting the curve intensity sidebar, which is available below the curve effect.
Apart from curving text, you can change the text’s font, add elements and pictures to your designs to make them look eccentric.
Also read: How to delete your Canva account?


