Canva is one of the easiest graphic designing tools you can find. It doesn’t require a download or a license to use, can be used across the internet on any machine and is relatively simple to get started if you’re a total beginner.
However, as your designs get more and more complicated, you’ll start realising that several actions do require some extra help. In this article, we’re talking about how to group items on Canva.
Also read: How to remove background in Canva?
Grouping Canva elements on the Web
If you’re using the Canva website or desktop app to create your designs, grouping items together is rather easy. Just follow these steps.
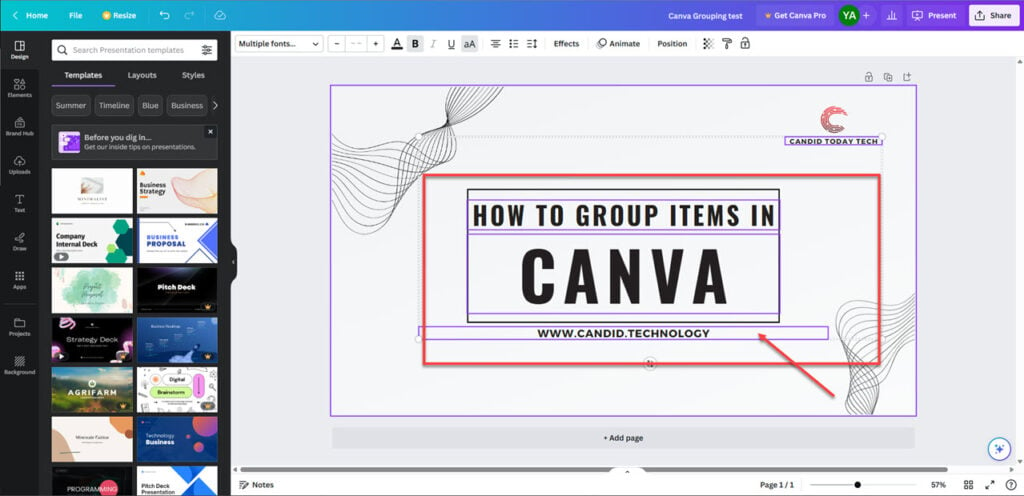
Step 1: Open your Canva design and start selecting items you want to group one at a time while holding down the Shift key. Alternatively, you can also drag your cursor over the elements you want to select.

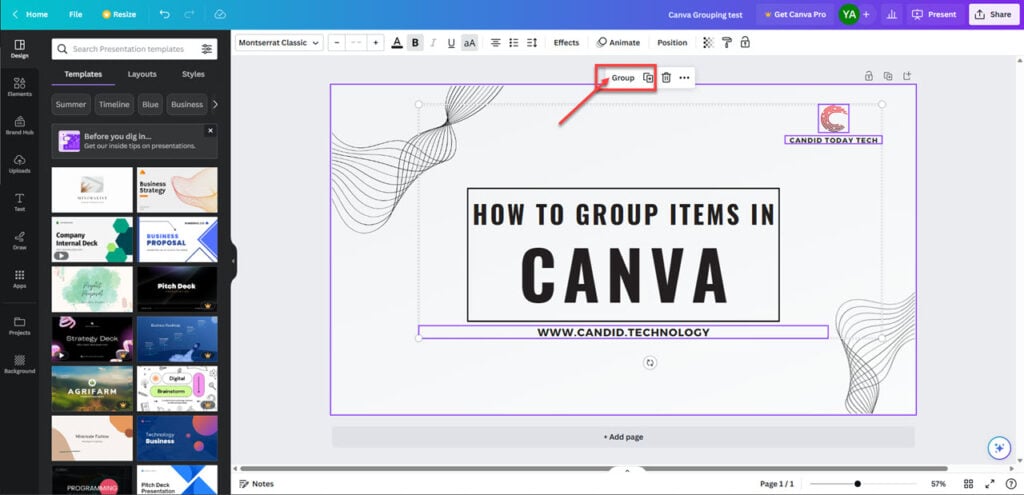
Step 2: One the floating toolbar, click the Group button. You can also use the Ctrl + G keyboard shortcut.

If you want to ungroup any elements, just select the group and the Group button will turn to Ungroup. You can also use the Shift + Ctrl + G keyboard shortcut to quickly ungroup items once they’re selected.
Grouping Canva elements on the app
If you’re using the Android or iOS Canva app, the steps are similar, except for one addition.

- Tap and hold the first item you want to add to the group until a menu appears. Tap Select Multiple from said menu.
- Select all the other items you want to add to the group.
- Swipe left and tap the Group button in the floating bar to group the items.
Should you want to ungroup these items, just tap the group, and tap the Ungroup button from the floating bar at the bottom.
Also read: How to cancel Canva subscription?


