User accounts have been essential to the smartphone experience since the beginning. While Android devices revolve around your Google Account, for Apple, the user experience revolves around Apple ID; which uses a pre-existing email or a new one with the iCloud domain.
For those of you that are new Apple’s services, the Apple ID allows your various devices to seamlessly sync account information and utilise iCloud-based features like Continuity and Handoff.
An example of this is a feature which lets you make or answer calls from your iPhone via other Apple devices logged into your ID. Learn more about this feature here.
With how ingrained this element is to the user experience, it is essential to occasionally review devices that use your Apple ID. It prevents devices that you do not use, from having access, especially those which you do not recognise.
Thus, follow this guide to learn two methods you can use to remove any devices that you may not recognise or utilise from your Apple ID.
Removal of a device will prevent it from receiving two-factor authentication codes — essential to Apple ID logins across your devices.
Also read: How to know which iPad you have?
Method 1: Removing devices via Apple ID Management Portal
Open your preferred browser and follow the steps listed below.
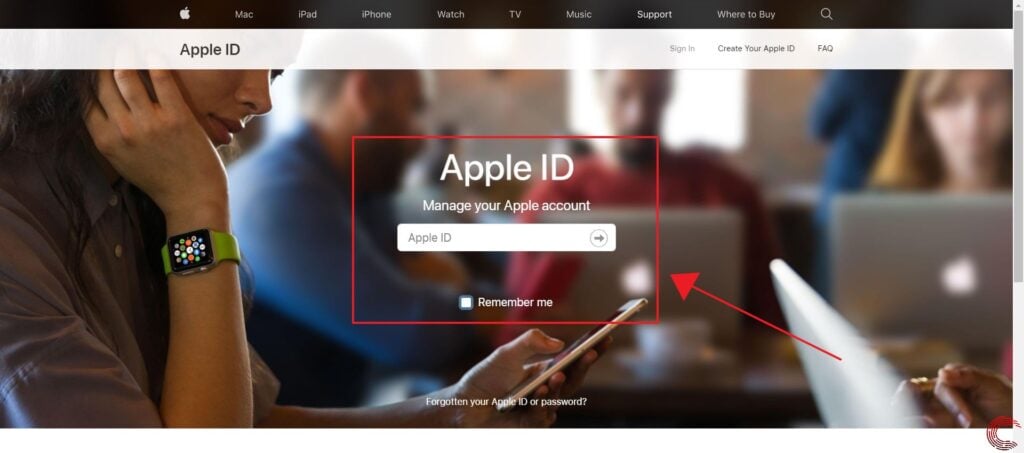
Step 1: Visit the Apple ID Management Portal and log into your Apple ID.

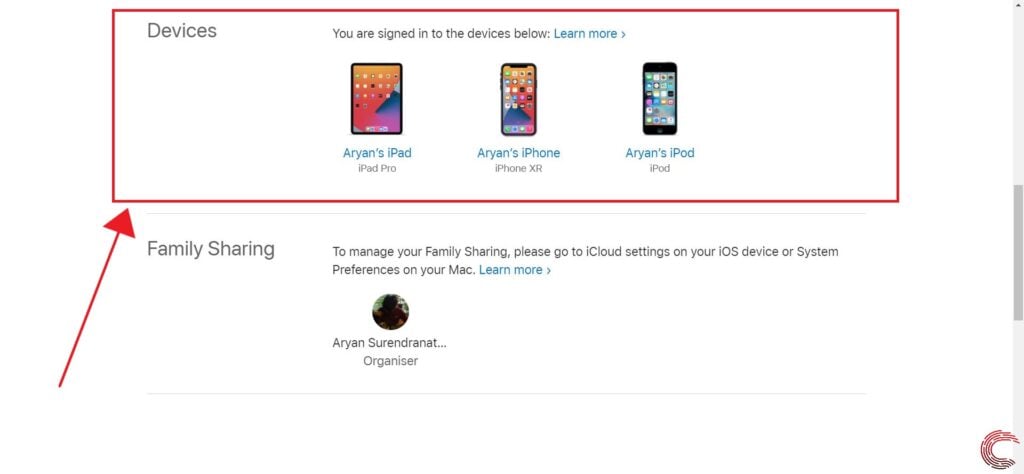
Step 2: Scroll down to Devices subsection.
Every device logged into your Apple ID is listed here alongwith their Serial Number.

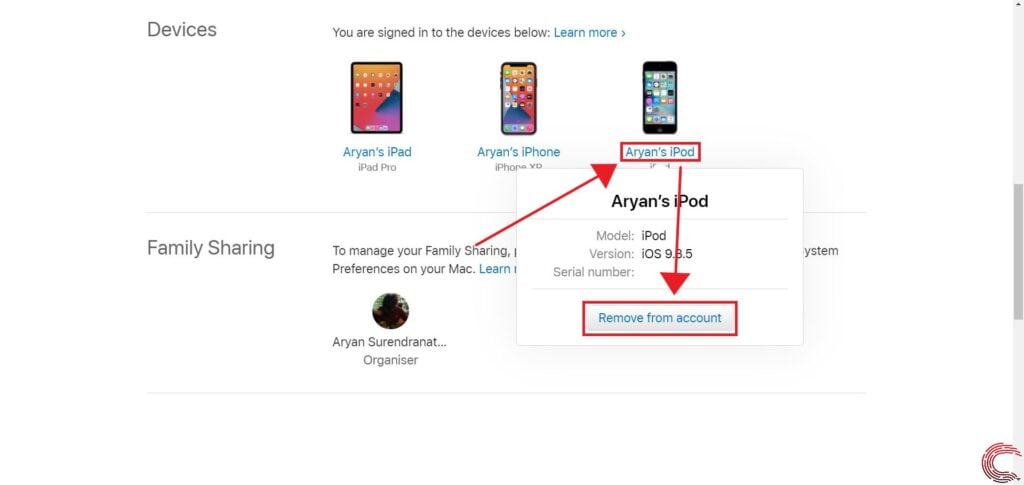
Step 3: Click on the device you want to remove and select the Remove from Account option.

Step 4: Confirm device removal.

Also read: Chrome vs Edge vs Firefox: Which browser should you pick?
Method 2: Removing devices via Settings
Open the Settings application on your iOS or iPadOS based device and follow the steps listed below.

- Open the Apple ID subsection — located at the top of the Settings application.
- Now, scroll down to see the list of devices logged into your Apple ID.
- Tap on the device you want to remove and within the Device Info screen tap on Remove from account.
Also read: How to transfer photos and videos from iPhone to Windows PC?


