If you stream or use a screen recording program, OBS is one of the best options out there. It’s free, relatively lightweight and surprisingly easy to configure. The project also gets frequent updates, meaning you always have support for the latest encoding technologies and streaming platforms.
In this article, we’re talking about how you can update your OBS installation to the latest version.
Also read: How to fix the black screen on OBS?
Updating OBS
Updating OBS should be a rather simple job, especially considering the program automatically looks for updates and prompts the user to install them as soon as they’re available. However, in case you’ve missed the update prompt, here are two ways you can update your OBS installation.
Using the in-built updater
As mentioned before, OBS automatically checks for updates periodically and asks the user to install them. However, you can do a manual check too. Here’s how.
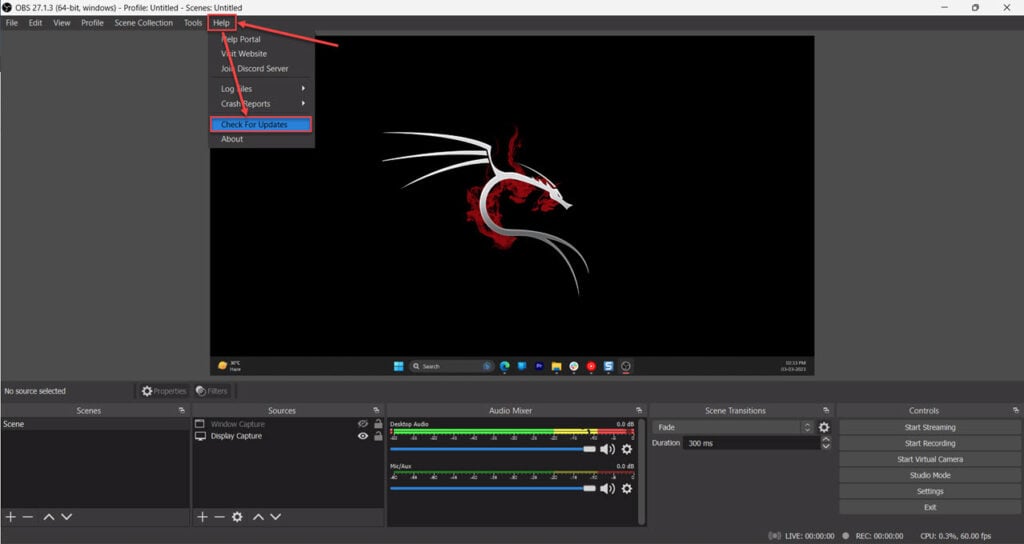
Step 1: Open OBS, click the Help option, followed by Check for Updates.

Step 2: OBS will check for updates and show a prompt if one is available. Click Update Now to start updating the program.

Downloading the latest version manually
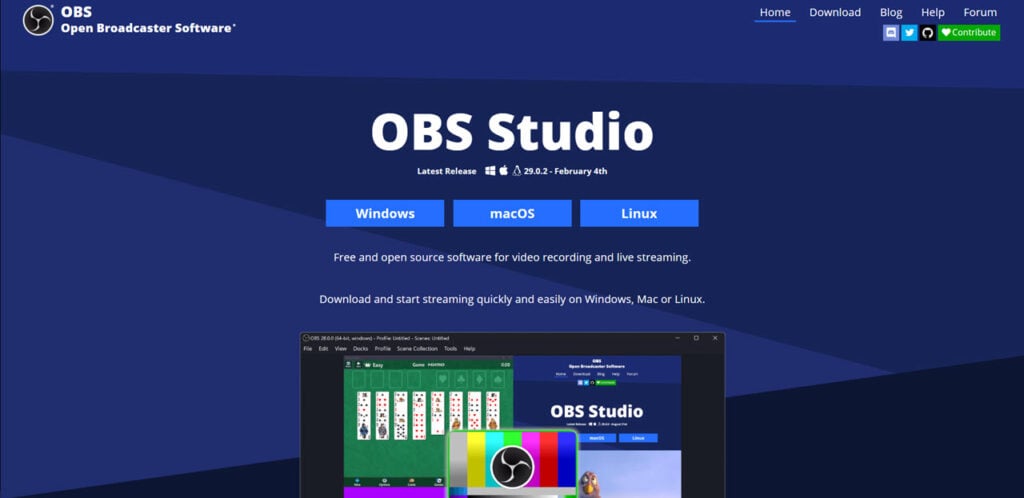
Alternatively, you can also head over to the OBS website and download the latest version manually. Do keep in mind that while the installer should overwrite your existing OBS installation, if you’re running a clean install manually, it’s best to uninstall any existing versions before you run the installer.

Follow these steps to uninstall OBS.
Step 1: Press Windows key + R to open the Run prompt. Type appwiz.cpl and hit enter

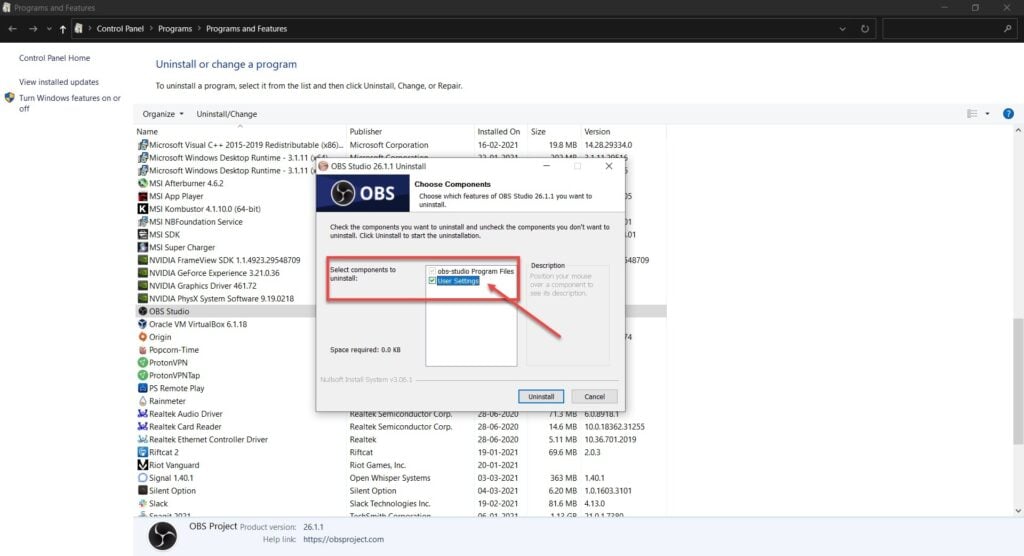
Step 2: Find OBS in the list, select it and click the Uninstall button.

Step 3: Make sure you select the User Settings option when selecting which components to uninstall.

Once OBS is uninstalled, you can go ahead and run the installer to install the latest OBS version available.
Also read: How to fix Nvenc error in OBS?


