Windows is a relatively stable OS, but that doesn’t make it immune to random bugs and glitches. Additionally, hardware failures can also add to random errors you might see on your PC.
In this article, we’re taking a look at the ‘Fixing C Stage 2’ error in Windows and what you can do to fix the problem,
Also read: What is Windows audio device graph isolation? Everything you need to know
Shut down your PC manually
While it’s not recommended that you shut down your PC during a disk scan as it can cause permanent damage to your hard disk, if you’ve been stuck on the scan for far too long and your hard drive isn’t reporting any activity, you basically have no other option.
Try shutting down your PC by holding down the power button and then start it again. With any luck, you’ll be up and running in no time.
Make a registry change
Disabling disk checking on boot by making a registry change can also help you circumvent the error.
Step 1: Press the Windows key + R to open the Run prompt. Type regedit and hit enter.

Step 2: Navigate to the following directory.
Computer\HKEY_LOCAL_MACHINE\SYSTEM\CurrentControlSet\Control\Session Manager
Step 3: Double click the BootExecute key.

Step 4: Change the value to autocheck autochk /k:C *. Click OK to save your changes.
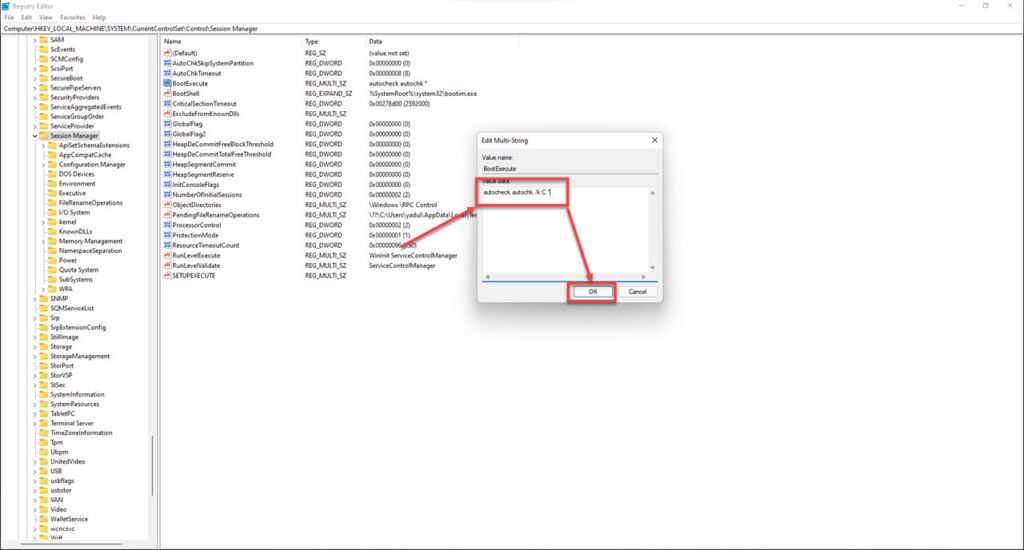
Now restart your computer, and the computer shouldn’t show the Fixing C Stage 2 prompt.
Run an SFC scan
Running an SFC scan can find and fix any corrupt or damaged files that may have been created during installation.
Step 1: Boot your computer using the Windows installation media. Click Repair your computer.
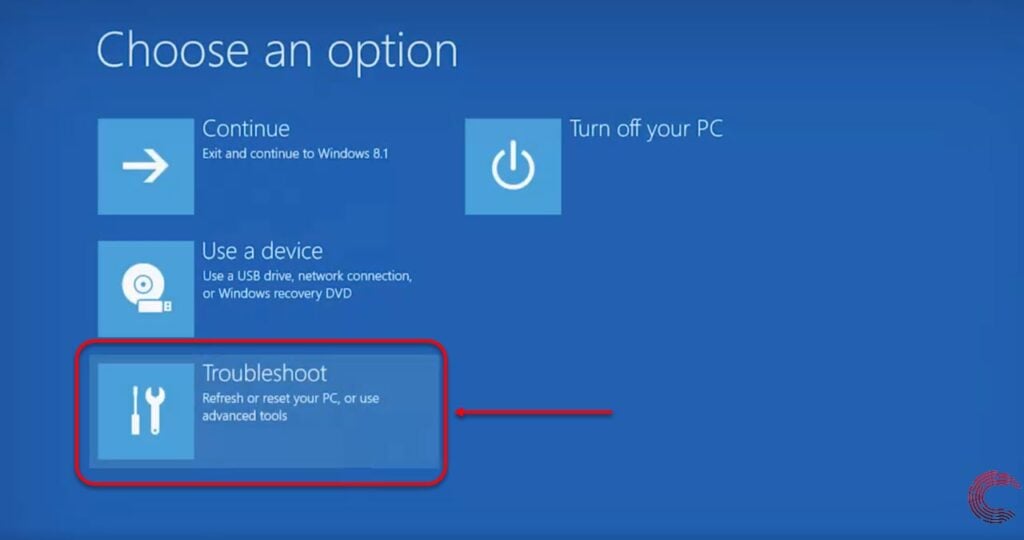
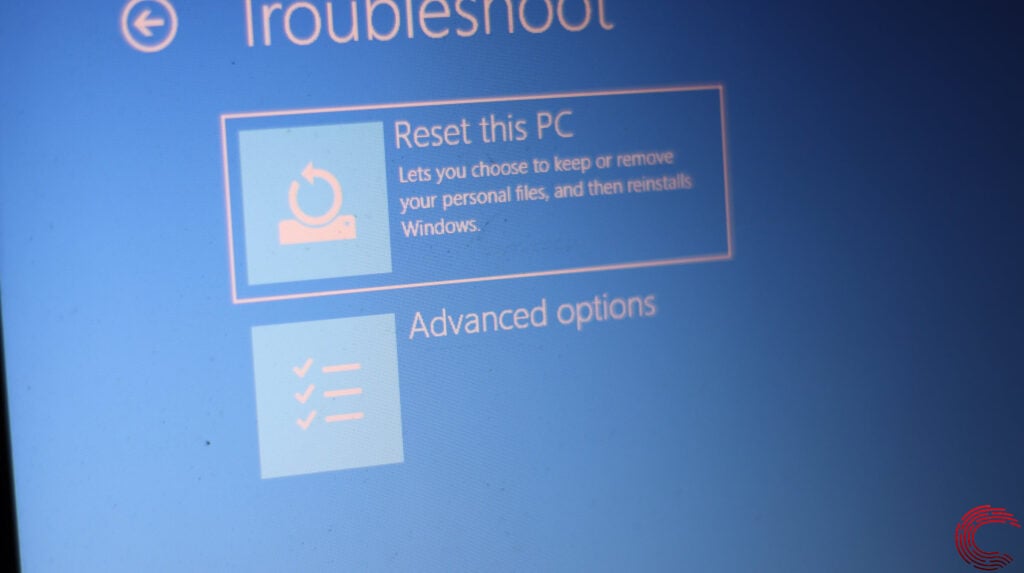
Step 2: On the blue screen recovery window, click on Troubleshoot.
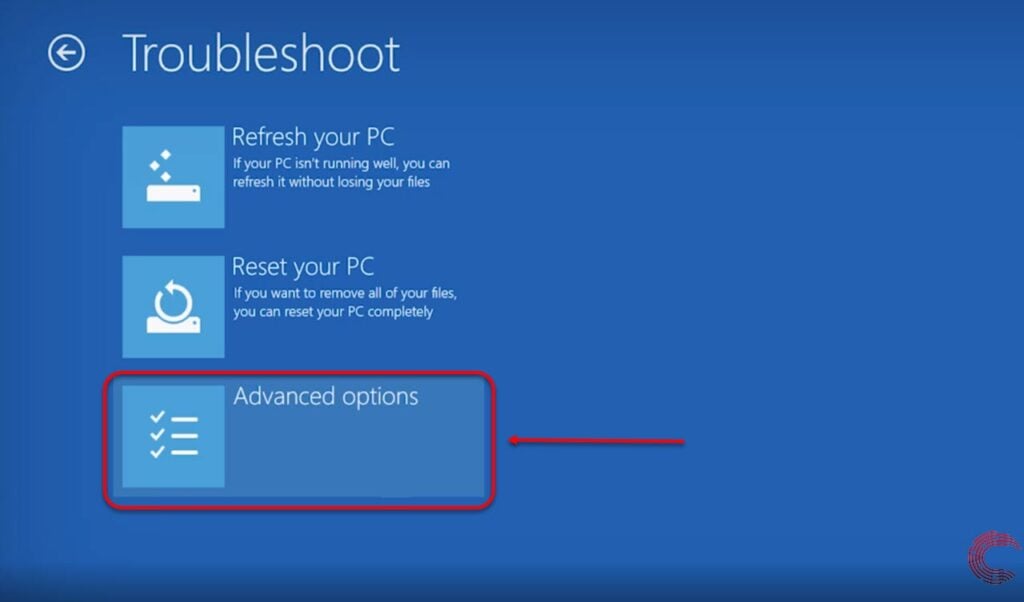
Step 3: Select Advanced options.
Step 4: Then select Command Prompt.

Step 5; Type the following command to run a system file scan.
sfc /scannowRestart your PC once the SFC command has run, and it should boot just fine.
Run Startup Repair
Startup repair is a built-in Windows tool that can help resolve any such errors you might be facing. Here’s how to get run the tool.
Step 1: Hold down the power button for about ten seconds to power off your PC.
Step 2: Press the power button again to boot your PC.
Step 3: As soon as you see the PC manufacturer’s logo, press and hold the power button for ten seconds.
Step 4: When your PC reboots, click on Troubleshoot.
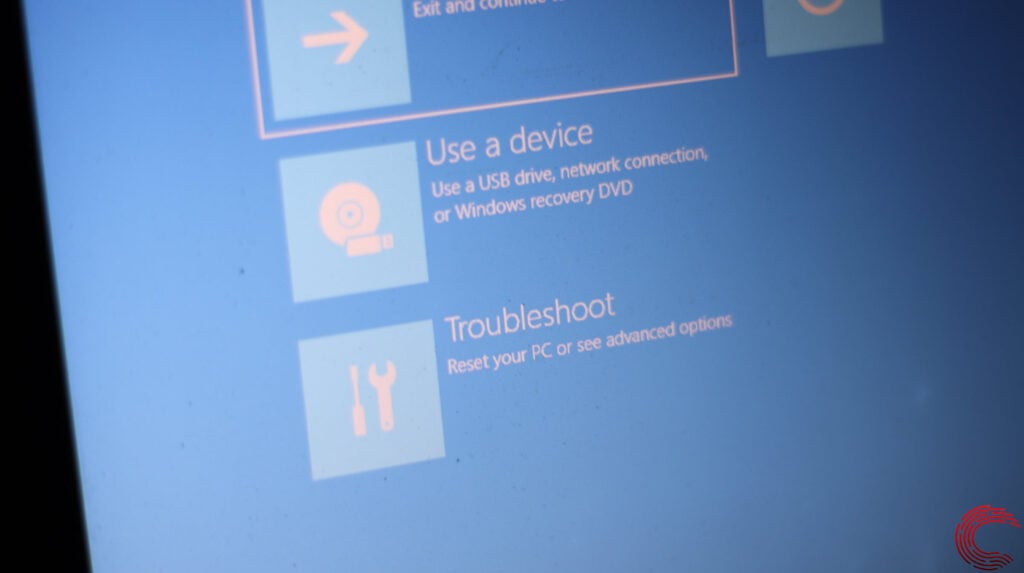
Step 5: Head over to Advanced Options.
Step 5: Select Startup repair.
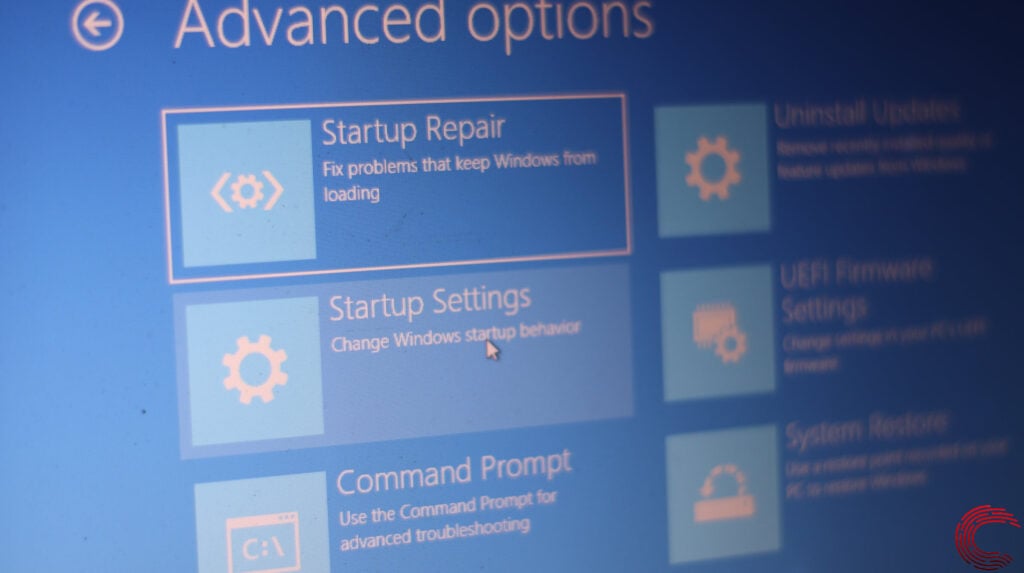
Now let Windows do its thing, and once your PC reboots, the Fixing C Stage 2 error should’ve been resolved.
Repair your system
If nothing else works, the best way to get rid of the error is by simply reinstalling or repairing your OS.
The Windows Media Creation tool is a great way to install Windows and repair the OS. Using this, you can perform a clean installation or repair your OS without affecting your data.
You can download the Media Creation Tool here
Also read: Windows Shift+S not working: 8 Fixes


