Uninstalling an app in Windows 10 and 11 is necessary to free up space on your computer and improve your device’s performance.
In this article, we’ll explain how you can uninstall Windows 10 and 11 apps.
Uninstall an app via the start menu
The first and easiest app uninstall is via the start menu. This method is the same in both versions of Windows.
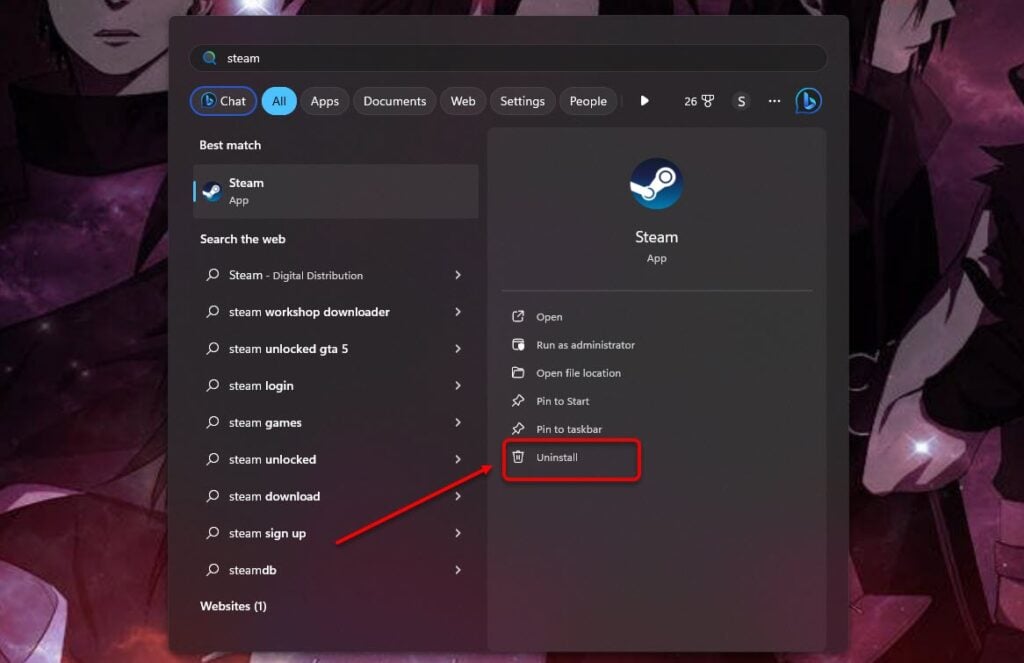
Click on the start menu, then search for the app you want to uninstall. After that, click on Uninstall.

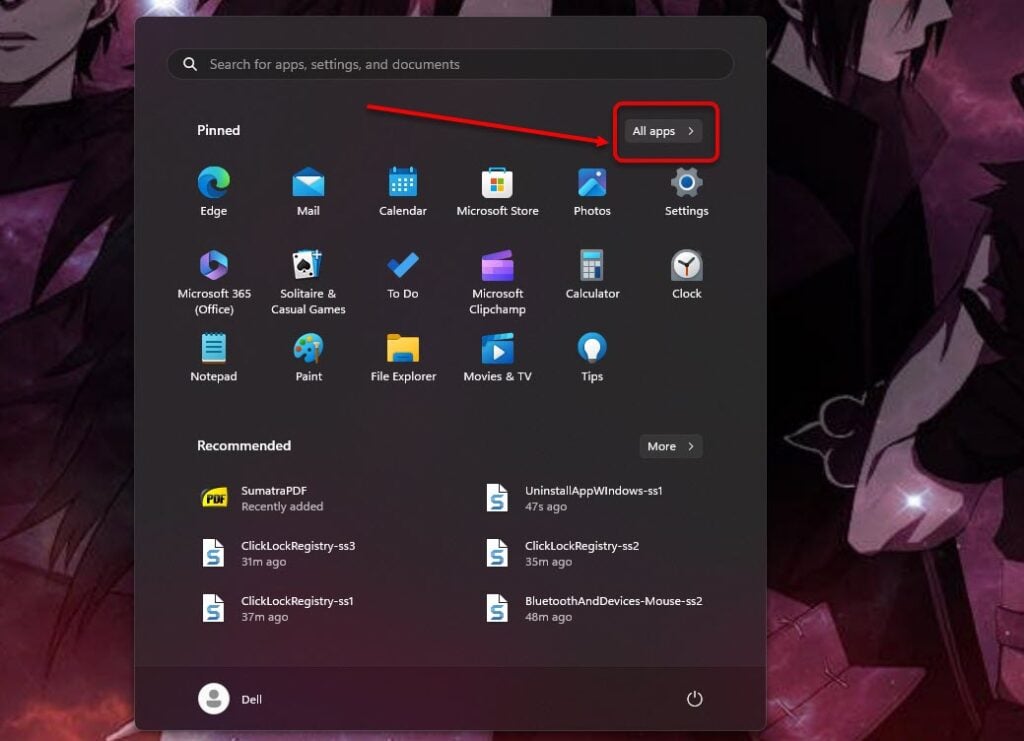
To search for all apps on your Windows OS, click on All apps at the top and then glance through the apps. Now, right-click on the app and then select Uninstall.

Also read: How to enable presentation mode in Windows 10 and 11?
Uninstall from Settings
The second method to uninstall Windows 10 and 11 apps is to use the Windows Settings tool. It is quite a handy tool that helps you optimise many settings.
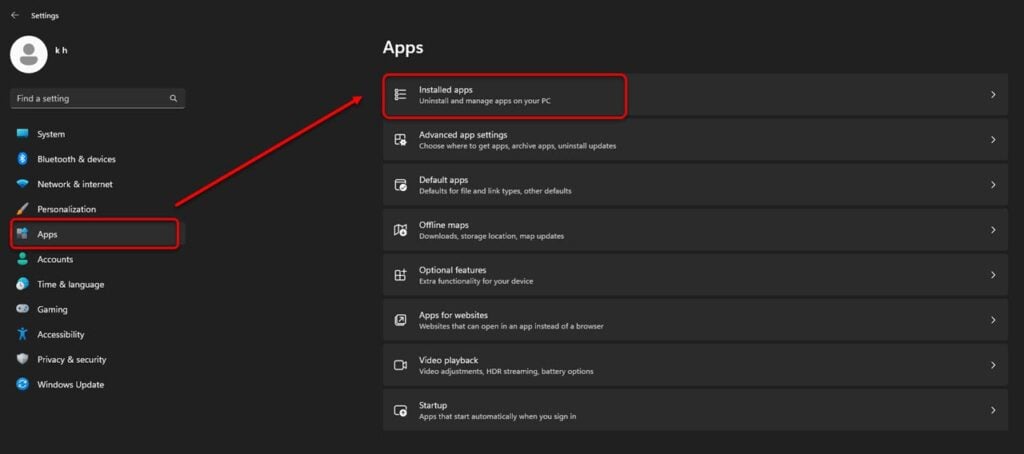
Step 1: Type Settings in the search bar and select the tool. Or, you can press the Windows key + I to launch Settings. Then go to Apps > Installed apps.

Step 2: Scroll through the list of apps, and then when you find the app that you want to uninstall, click on the horizontal three-dot button in front of the app and then select Uninstall.

Also read: What is Rzthxhelper? Is it safe?
Uninstall from the Control Panel
The third method to uninstall an app in Windows 10 and 11 is from the Control Panel.
Here’s how to do that:
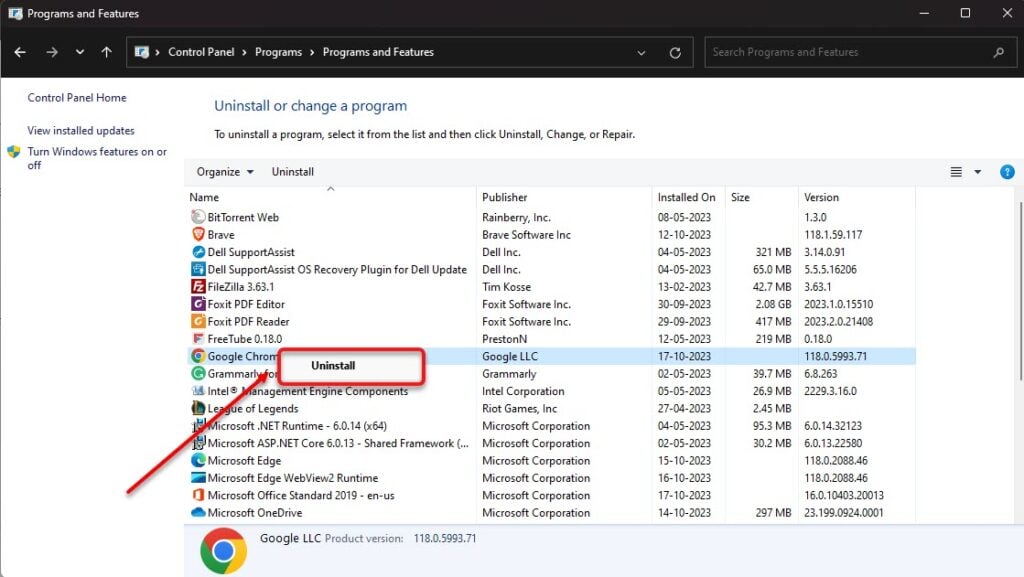
Step 1: Open the Control Panel and click Uninstall a program under the Programs heading.

Step 2: Either double-click on the apps or right-click on the app and then select Uninstall.

Using these three ways, you can uninstall an app in Windows 10 and 11, that is, via the Settings, Control Panel, and the Start menu. All three methods work in both versions.
Also read: How to create a shortcut to the desktop?


