Windows has had several different power options for laptop users to take control of how their machine functions when plugged in or on battery power. This includes specific controls that dictate what happens when you close your laptop’s lid.
In this article, we’re going over all these controls and explaining everything you need to know.
Also read: Windows 11 won’t sleep: 10 Fixes
Windows 11 lid controls
There are four different controls that you can set for when you close your laptop’s lid. They’re as follows:
- Do Nothing: Nothing happens when you close the lid and the laptop functions as usual.
- Sleep: Laptop enters sleep mode when the lid is closed. This is, more often than not, the default setting.
- Hibernate: Laptop hibernates when you close the lid.
- Shut Down: Laptop shuts down when you close the lid.
You can set these options individually when your laptop is running on battery power or is plugged into a wall socket. You can use these settings to use your laptop differently in different scenarios. For example, if you have an external monitor hooked up to your laptop, you can choose to use either both screens or change the lid settings to let you close the laptop’s lid and tuck it away while you work on the external display and your laptop functions as expected.
How to change lid settings in Windows 11/
Here’s how you can change these settings.
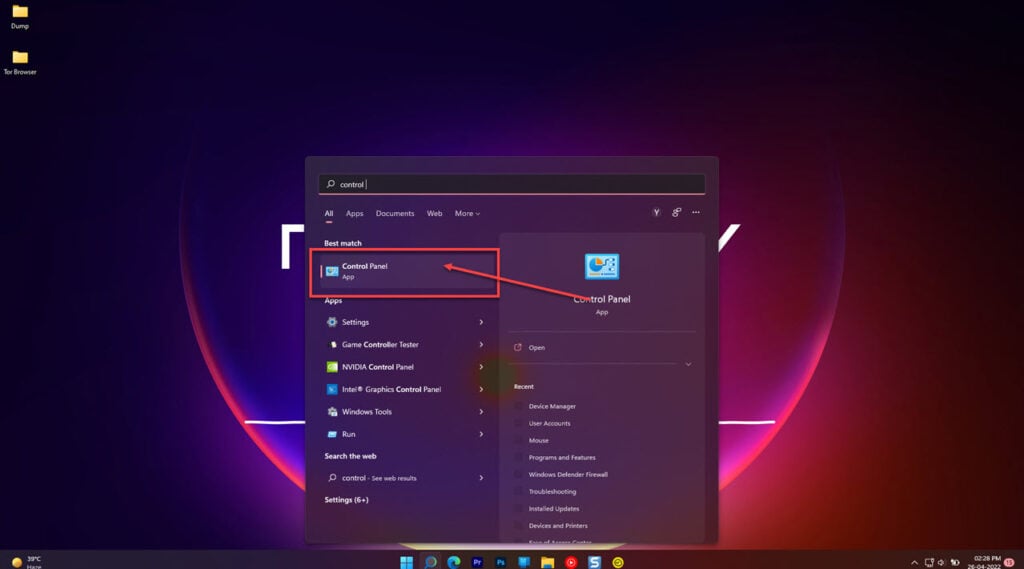
Step 1: Press the Windows key and search for Control Panel. Click the corresponding search result.

Step 2: Click Power Options.

Step 3: Click Choose what closing the lid does from the options on the left.

Step 4: Here, you’ll be able to set the controls mentioned above for when your laptop is running on battery power or is plugged into a wall socket.

Step 5: Click the Save Changes button when you’re done.


