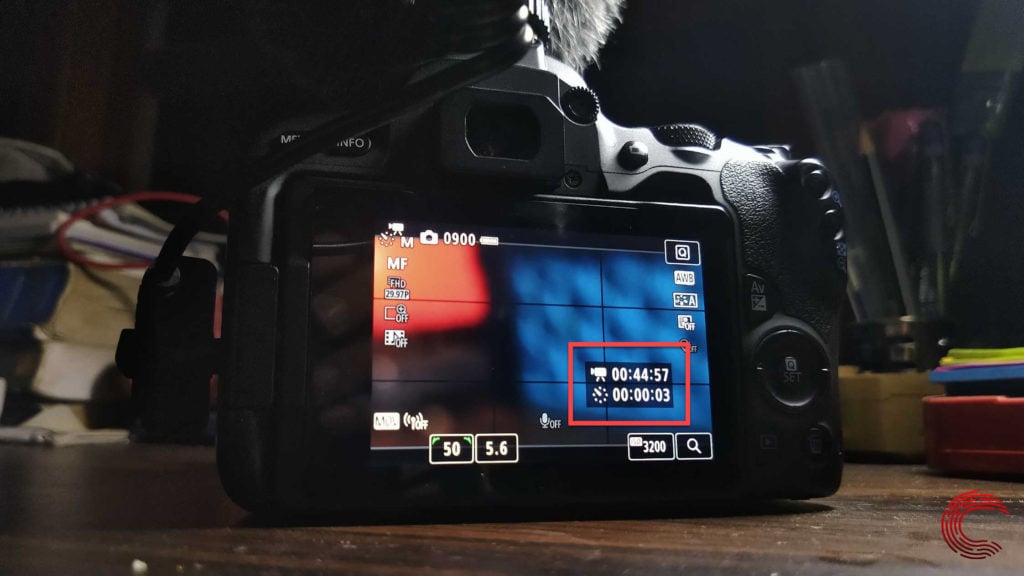
We can all agree that time-lapses are amazing when done properly. They look beautiful and tell stories, which would otherwise take minutes, in a few seconds.
A proper paced time-lapse sequence can be tricky to get right. However, if you’ve got a Canon DSLR or mirrorless camera lying around, you’re in luck.
You see, Canon has this amazing feature in most of their cameras that let you record time-lapses straight via the camera itself. No extra work needed.
So if you happen to have a Canon camera on your hands, let’s get started.
Also read: How to control your Canon DSLR remotely
Recording time-lapses in Canon Cameras
The whole process is pretty barebones and really simple to understand
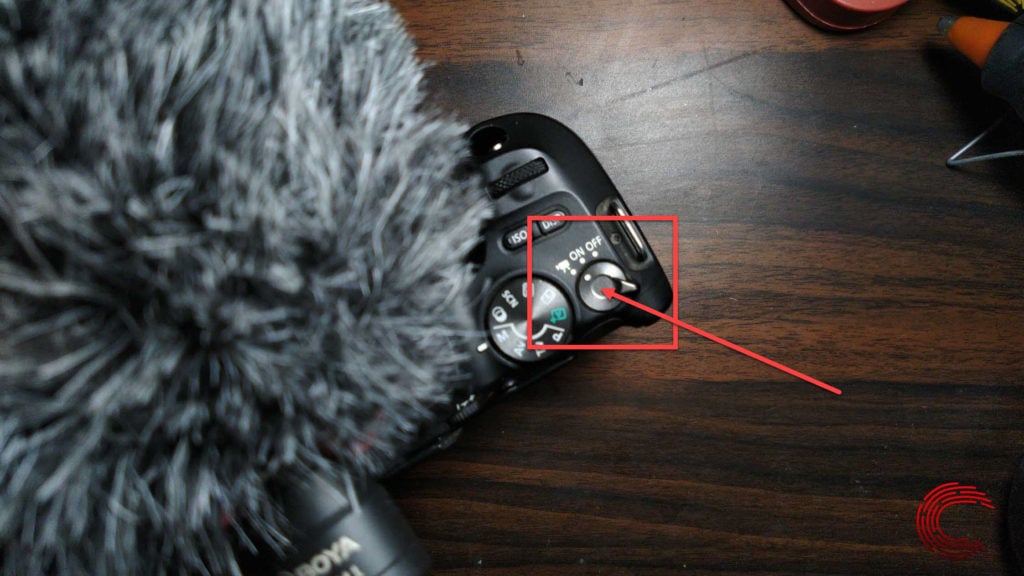
Step 1: Make sure your camera is set to video mode
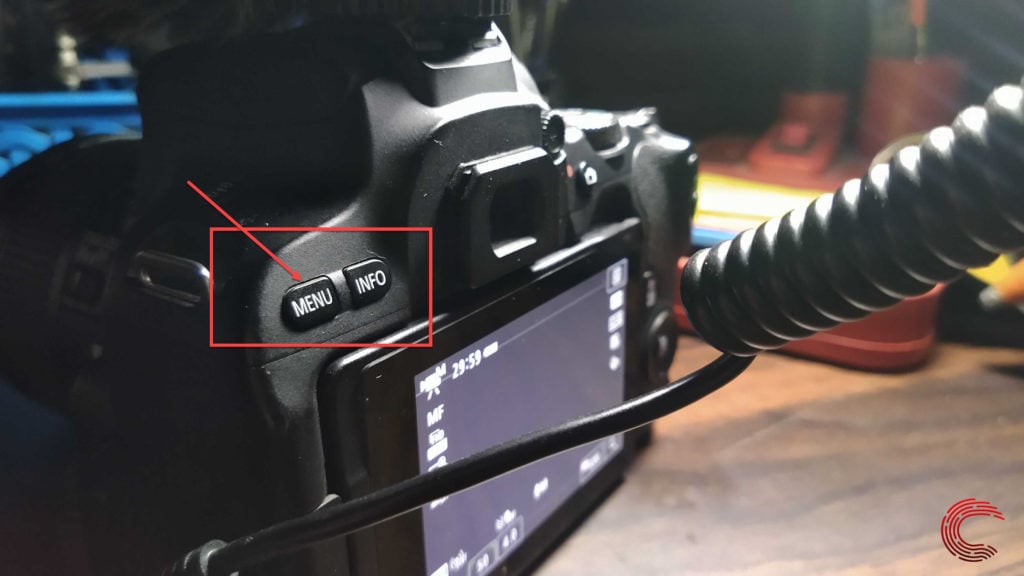
Step 2: Open the Menu by pressing the menu button when in live view mode
Step 3: In the Shoot tab, go to Shoot5 and enable the Time-lapse movie option.
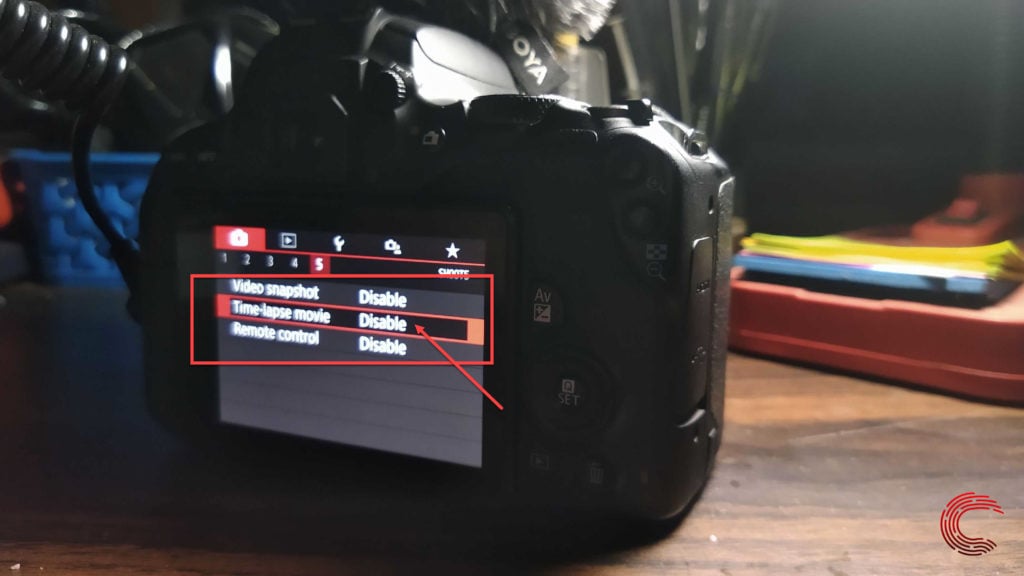
Step 4: Once the setting is enabled, you’ll see a plethora of options in the next submenu. However, we’re only going to concern ourselves with two settings.
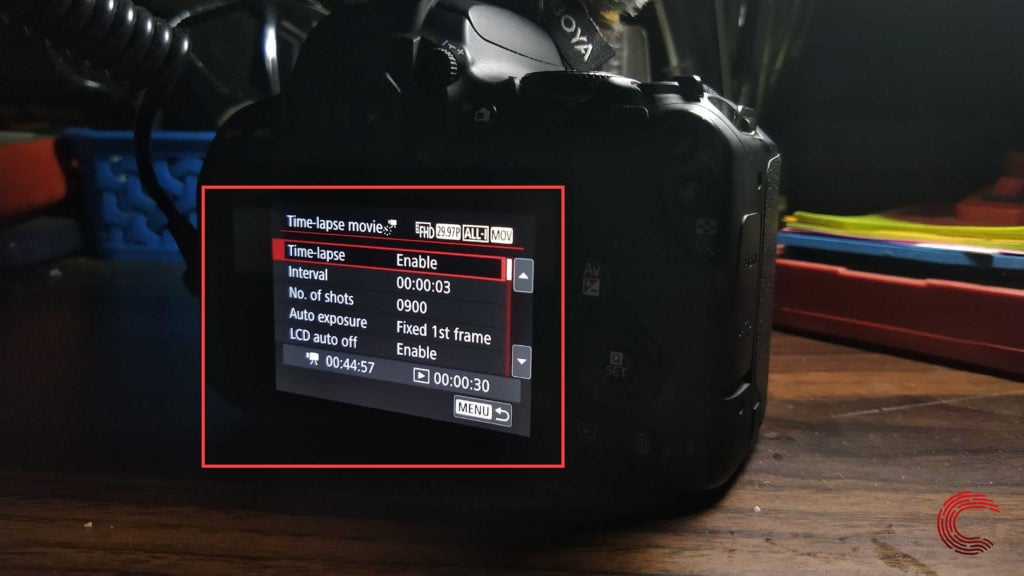
- Interval: This is the time duration in seconds in between each individual shot.
- No. of shots: As the name suggests, this is the number of shots your camera will take during the entire timelapse.
As you can guess, both these settings need to work together for us to create the best looking timelapse. For shorter time-lapses, we suggest keeping the interval shorter as it’ll you a smoother-looking timelapse.
Similarly, for longer time-lapses, the interval should be kept slightly apart. The menu also shows you your timelapse’s playback and recording length as well.
Step 5: Once you’re happy with the settings, just go back to the live view and start the record button to start recording your timelapse.
