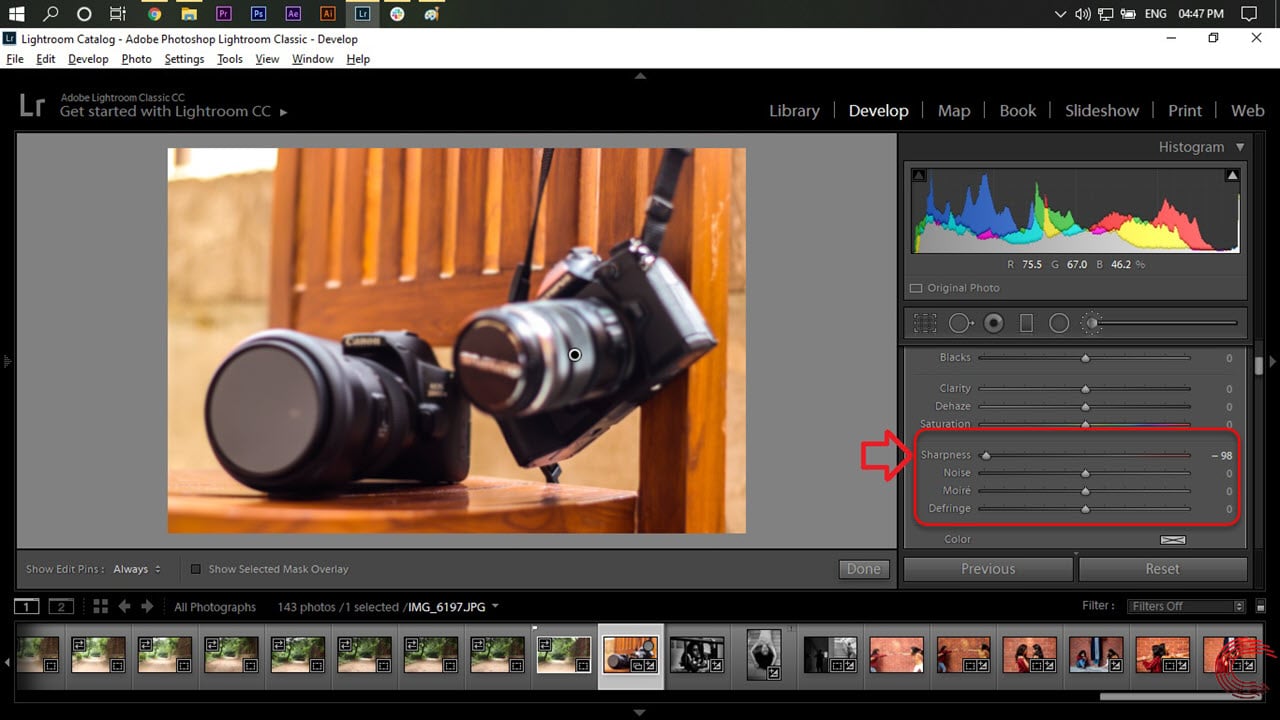
Lightroom has always been a fantastic option for editing raw images and creating amazing photo stories. If you’re new to Lightroom and are looking to get your basics clear, in addition to the presets and effects, here we’ve compiled a simple guide to get you through blurring, teeth whitening and cropping an image in Adobe Lightroom.
How to whiten teeth in Lightroom?

- Import the image in Lightroom and start editing it.
- Select your bush size and shape for background mask.
- Create the mask by painting on the teeth.
- Click on Light.
- Adjust the White effect by choosing the appropriate amount of whiteness.
- Click on Color.
- Adjust the Temperature effect by choosing the appropriate amount of temperature.
- Export the image.
Also read: How to Whiten teeth in Photoshop?
How to crop images in Lightroom?

- Import the image in Lightroom and start editing it.
- Open Crop & Straighten tab.
- Click on a corner and drag it to resize the crop area. You can also use the available default aspect ratios if you want to crop the image in a particular dimension.
- Click on Done.
- Export the image.
Also read: How to block ads on Google Chrome?
How to blur an image in Lightroom? (PC)
Import the image in Lightroom and follow the steps mentioned below. Step 1: Select your brush size and shape for background mask.
Step 2: Create a background mask by painting the background. Step 3: Select the Blurr option.
Step 4: Adjust the blur effect by choosing appropriate clarity and sharpness. Step 5: Export the image.
Do let us know if you want more such tutorials on Lightroom.
Also read: Windows Task Manager: A breakdown


