When it comes to setting alarms and timers, we mostly look towards our smartphones. However, your Windows PC is just as capable of waking you up on time or reminding you to get that dish out of the oven.
In this article, we’re going over how you can set alarms and timers in Windows 10.
Also read: How to set a Spotify song as your Alarm on Android?
How to set an alarm for 10 minutes?
As you’d expect, setting the alarm in Windows is relatively easy. You don’t need to download any third-party software as well. We’ll be setting up an alarm with a ten-minute snooze interval which will keep going until you disable the alarm.
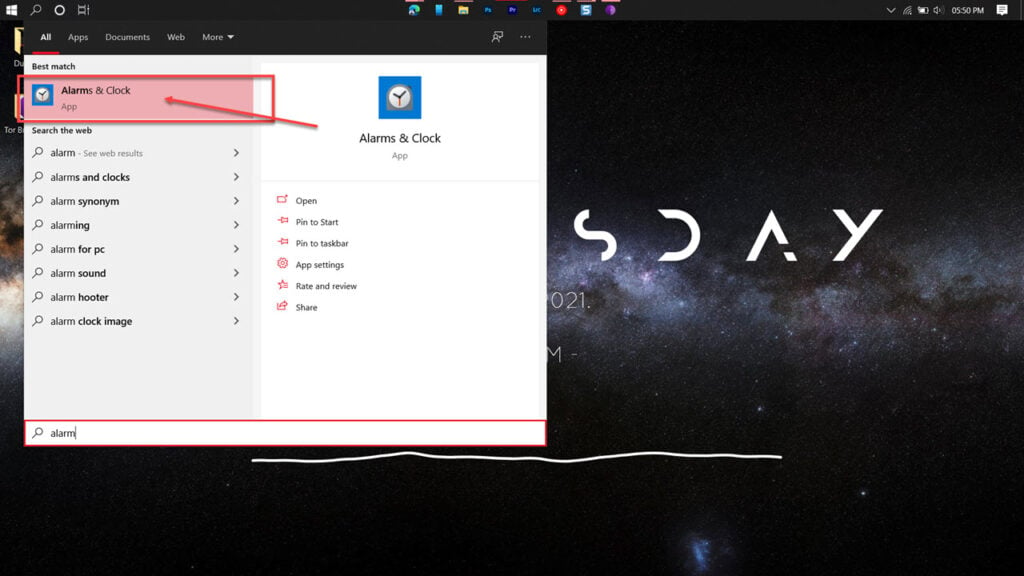
Step 1: Press the Windows key and search for Alarms. Then, click on the corresponding search result.

Step 2: Head over to the Alarm tab and click on Add an alarm.

Step 3: Set the alarm time, name, the days you want it to ring, the alarm tone and the snooze timer for around ten minutes. This way, your alarm will keep going on in snooze intervals of ten minutes until you get up and turn off the alarm.

And that’s it; you’re good to go. Do keep in mind, though, that while you may hear the alarm, you’ll not see any notifications while your PC is sleeping.
If you’re using iPhone or Android smartphone and tablet, you can use the snooze feature to set the alarm for 10 minutes.
Also read: How to change the alarm sound on your iPhone?
How to set a timer for 10 minutes?
Here’s how you can set a quick timer for 10 minutes. Similar steps will apply on Android and iOS when setting up a timer.
Step 1: Press the Windows key and search for Alarms. Then, click on the corresponding search result.

Step 2: Head over to the Timer tab and click Add new timer.

Step 3: Change the middle digits to 10; that’s where the minutes go. To the left, you mention hours, and seconds go on the right. Name the timer and click Save.

Step 4: Start the timer by clicking the start button.

Also read: How to setup iPhone’s camera timer?


