Microsoft Excel is a powerful tool for managing and analysing data, but its capabilities extend beyond mere calculations. Excel’s formatting features allow you to present your data clearly and organised. One such formatting technique is text wrapping.
In this article, we have discussed various ways to wrap a text in Excel that will help you organise your data in Excel.
Also read: How to create a collapsible row in Excel?
What does Wrap text do?
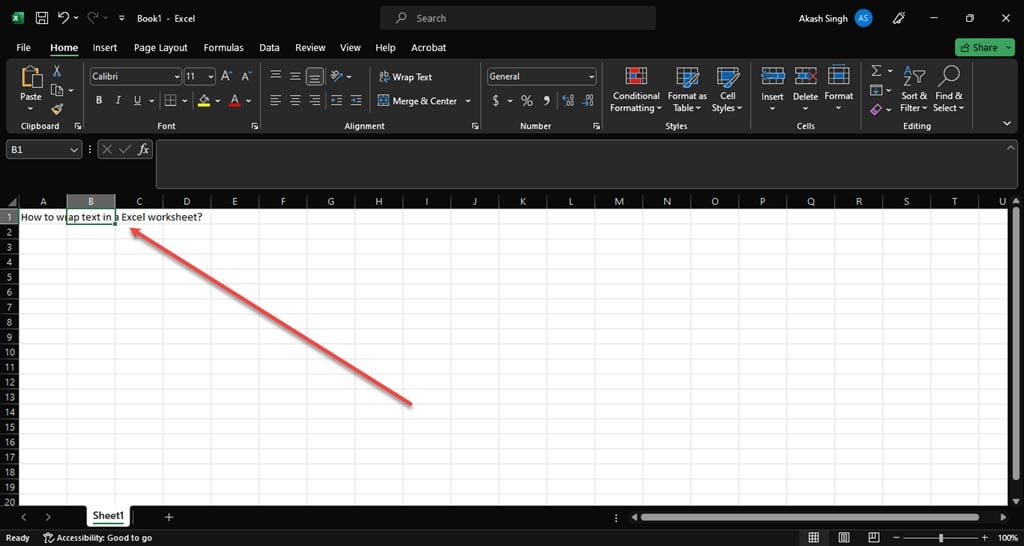
When the information you type into a cell is too much to fit inside it, there are two possibilities. If there are empty columns to the right, the long text stretches into those columns, and if the cell next to it has information, the text gets cut off at the cell’s edge.
The wrap text feature in Excel allows you to show all of a long text in a cell without it spilling into other cells. Wrapping text means putting the cell’s content on different lines instead of one long line. This keeps your text from being cut off and makes it more readable, especially when you print it. Additionally, it ensures that your columns stay the same width across the whole worksheet.

Also read: How to remove space in Excel?
How to Wrap Text in Excel?
Below we have explained various methods to wrap long text in a single column in Excel.
Wrap text automatically
To wrap text automatically, follow the steps below.
Step 1: Select the cell with the long text, click on the Home tab in the toolbar ribbon, and then click on the Wrap Text option in the Alignment section.
You can also use the keyboard shortcut to wrap text. Select the column with the text and press Ctrl + H + W keys to wrap the text in the selected column.

Step 2: The text will be wrapped in a single cell.

Wrap text through format cells dialogue box
Follow the steps below to wrap text using the format cells dialogue box.
Step 1: Select the cell with the text you want to wrap and right-click on it, and then in the dropdown menu, click on the Format Cells option.
You can also use the keyboard shortcut Ctrl + 1 to open the format cells dialogue box.

Step 2: Click on the Alignment tab, mark the box beside the Wrap text, and click on the OK button.

Also read: What to do if WiFi is not working?
Adjust the Column width to make the text visible
To adjust the column width in the Excel worksheet, follow the steps below.
Step 1: Select the cell with the long text, click on the Home tab in the toolbar ribbon, and then click on the Format option in the Cells section.

Step 2: Click on the AutoFit Column Width in the dropdown menu.

Step 3: The column width will automatically set itself according to the length of the text.

Add a line break
You can make the text fit into a cell by entering a line break in Excel. This happens by putting line breaks in the text, and Excel arranges it to fit the cell’s width.
To do so, double-click in the cell in which you want to enter the line break and then click at the end of the text and press Alt + Enter keys.

Also read: How to remove page breaks in Excel?


