Google Docs’ highly collaborative workflow and easy to use interface has made it a handy online tool for making text documents and writing just about anything.
However, it’s not perfect. If you’re working for an organisation and want to add watermarks to your document, there’s no official way to do that. Luckily, there’s a workaround.
In this article, we’re taking a look at how you can add watermarks in Google Docs.
Also read: How to change the language in Google Docs?
Creating a watermark in Google Docs
Actually, we’re going to make our watermark in Google Drawings as Docs doesn’t allow us to create or add watermarks directly.
Google Drawings is a tool made by Google to insert charts, graphs and all other kinds of graphics in your Docs.
Step 1: Head over to Google Drawings.

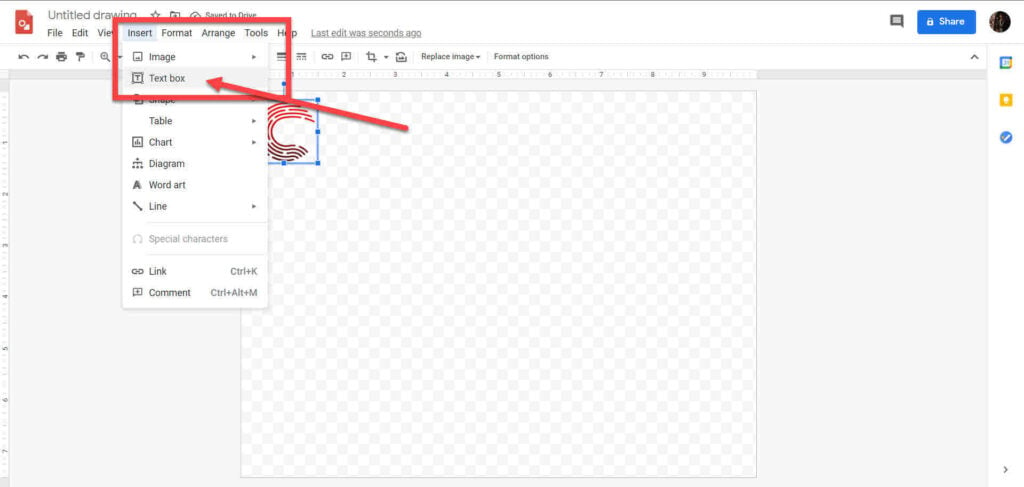
Step 2: Click on Insert, followed by Image and select a source. Here I’m just going to upload a logo from my PC.

Step 3: Use the handles around the image to drag and resize it to your liking,

Now we’re going to add some text to our watermark, This is optional, and you can skip this part if you think a logo or an image is good enough.
Step 4: Click on Insert followed by Text box.

Step 5: Type in your text and resize it just like we did our image in step 3.

Now that our watermark is ready, let’s make it a bit subtle by modifying transparency settings.
Also read: How to make Google Docs landscape?
Changing watermark transparency
If you’ve seen a watermark, you know that they’re quite transparent. Having an obvious image as a watermark can be quite distracting and hampers document readability.
Note that we’d only be able to change the transparency for the image and not the text that goes along.
Step 1: Right-click your image and click on Format options.

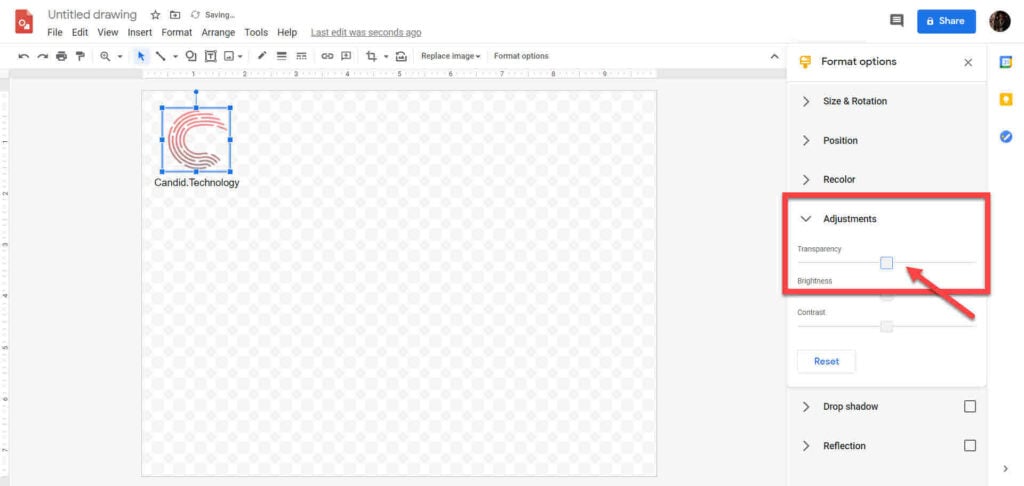
Step 2: The Format options pane will show up on the right. Open the Adjustments tab and adjust the Transparency slider to whatever you want. We recommend setting it to 50 per cent or higher.

Additionally, you can also adjust the image’s size and rotation if you want from the Size & Rotation tab.
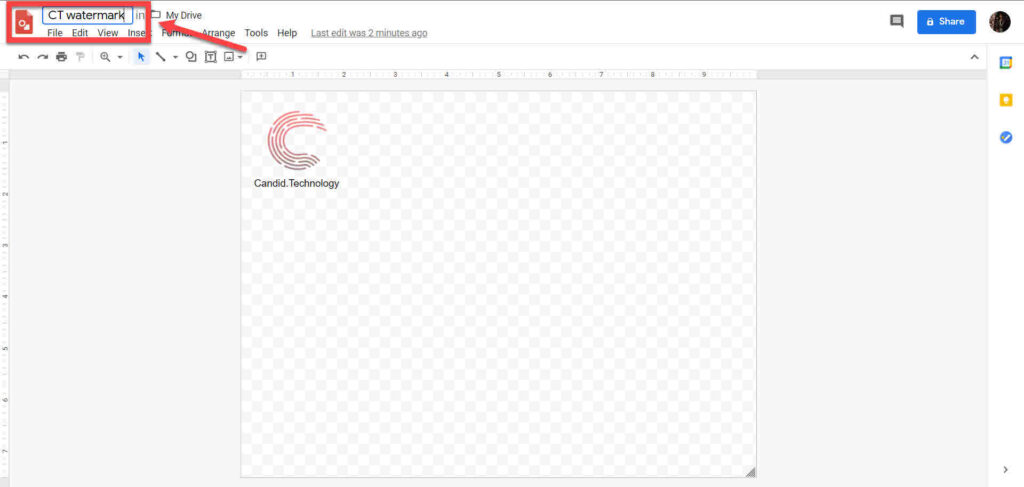
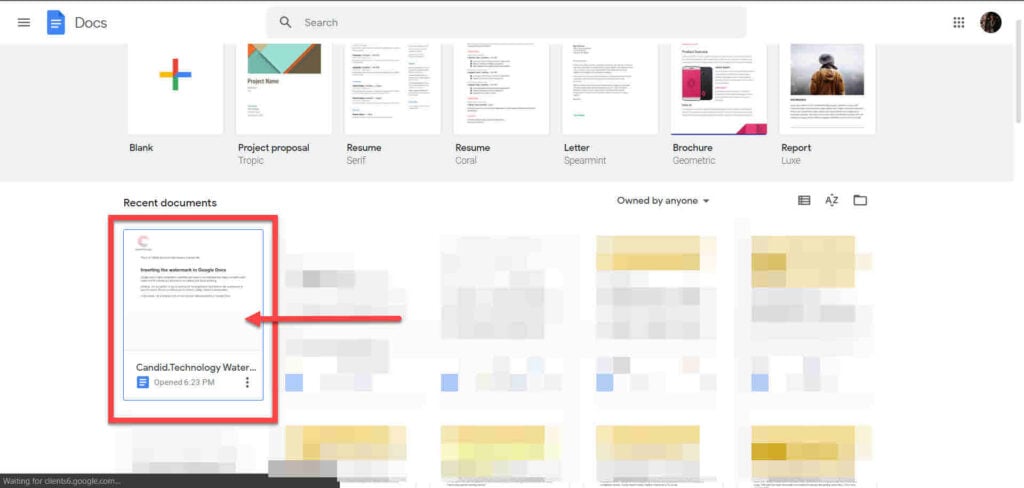
Step 3: To finish off our watermark design, give the drawing a name so that it’s easier to find when we’re in Docs, and you’re good to go. Google Drawings will automatically save this to Google Drive.

Also read: How to change margins in Google Docs?
Inserting the watermark in Google Docs
Unfortunately, there’s no way to put images behind the text in Google Docs. This means that our watermark is either going as in an image in the body of the text or using the better-looking approach, which is to embed this image in the header or footer of the document.
Step 1: Head over to your Google Doc, click on Insert, followed by Headers & Footers and select wherever you want to embed the watermark.

Step 2: Now, we’re going to insert our watermark. Click on Insert once more and this time click on Drawing. Select the From Drive option.

Step 3: Select the watermark we made and click Select.

Step 4: Select the Insert unlinked option and then click the Insert button.

Step 5: Once your image is inserted, resize it to your liking, and you’re good to go. If you can’t move the image, make sure to select the Wrap Text option underneath.

This will now appear on every new page that you add.
Also read: How to add or remove Strikethrough in Google Docs?
Using the document as a template
If you frequently add the same watermark to many documents, you can template the current document and save some time.
We’re essentially saving the document with a memorable name and editing a copy of it every time we need a document with the same watermark.
Step 1: Head over to Google Docs and open the same watermarked document that we just made.

Step 2: Click on File followed by Make a copy.

Step 3: Enter the name for the new document, its save location, and whether you want to share it with the same people and copy the comments and suggestions. Click OK once done.

Now you can continue editing the new document without having to go through the process of adding a new watermark again.
Also read: How to insert em dash in Google Docs?


