As stable as Windows is, it can run into fatal errors at times. A bad update or a corrupt driver can easily keep your PC from booting. Luckily, as Windows versions keep getting better, Microsoft has made it easier to troubleshoot and diagnose errors that may occur during boot.
In this article, we’re talking about the “your PC did not start correctly” error, its causes, and how to fix the problem.
Why does this error occur?
Several reasons can trigger the error, including hardware failures, bad sectors on the boot drive, incomplete Windows installations, corrupted boot partitions and last but not least, driver issues.
Also read: Windows 10 stuck on restarting: 5 Fixes
How to fix the ‘Your PC did not start correctly’ error?
Here are a few solutions you can try out.
Restart your PC
At times, something as simple as restarting your computer can fix seemingly random issues, including BSODs and any booting errors you might run into. If you see the ‘Your PC did not start correctly’ error, try restarting first to see if Windows can work the problem out on its own (it usually does).
Update your BIOS
Updating your BIOS is also a good idea if you’re frequently running into BSODs or, for that matter, their red counterparts. However, do keep in mind that the process for updating the BIOS differs greatly depending upon the make and model of your PC’s motherboard, so be sure to consult with an expert if you don’t know what you’re doing.
Run an SFC scan
Running an SFC scan can find and fix any corrupt or damaged files that may have been created during installation.
Step 1: Boot your computer using the Windows installation media. Click Repair your computer.
Step 2: On the blue screen recovery window, click on Troubleshoot.
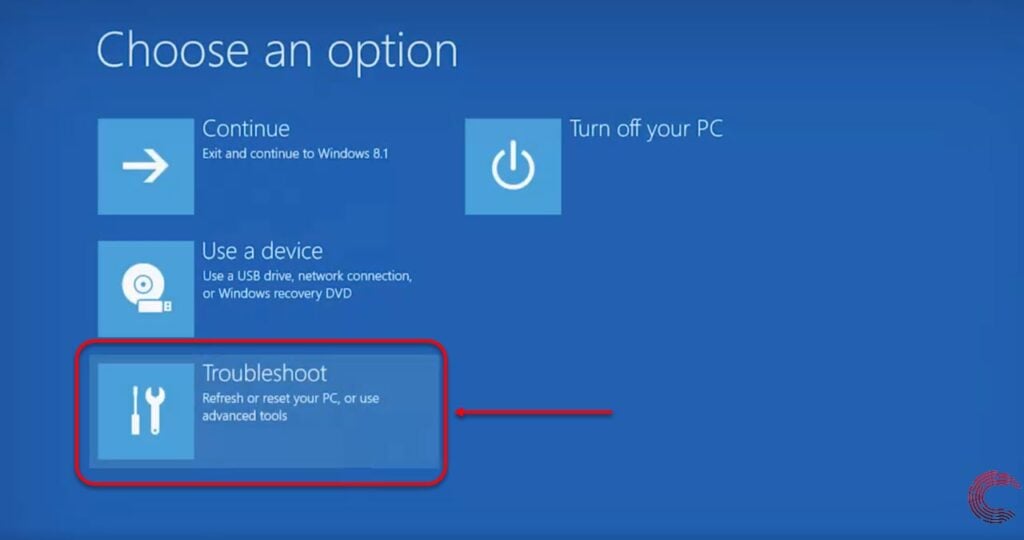
Step 3: Select Advanced options.
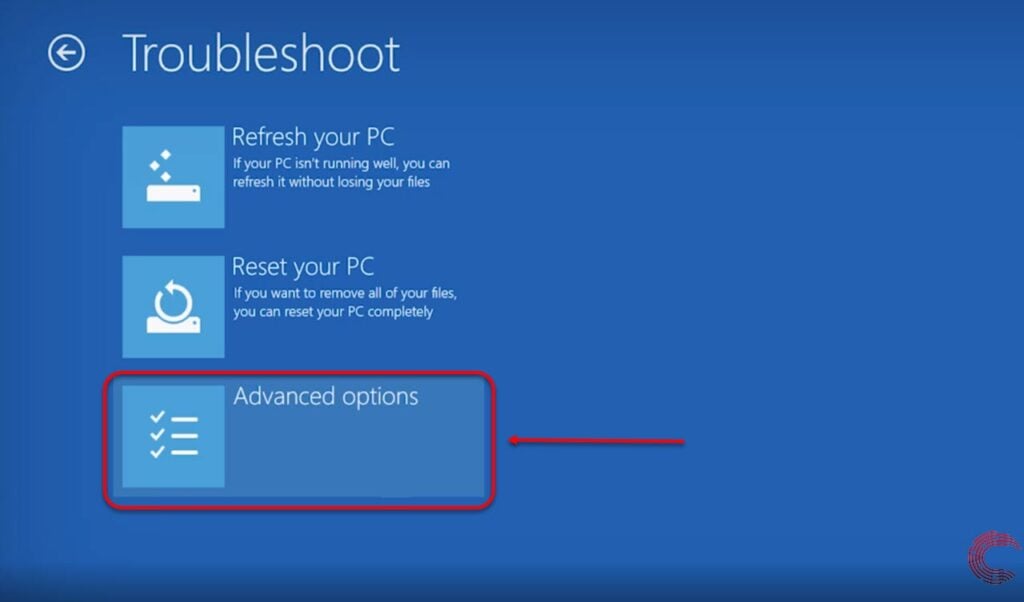
Step 4: Then select Command Prompt.

Step 5; Type the following command to run a system file scan.
sfc /scannowRestart your PC once the SFC command has run, and it should boot just fine.
Also read: What is APC index mismatch in Windows 10? 5 Fixes
Fix the BCD file
A corrupt or damaged BCD file can also trigger this issue. Now to fix this, you’re going to need a bootable version of Windows 10 on either a flash drive or a CD.
Step 1: Boot your computer using the Windows installation media. Click Repair your computer.
Step 2: On the blue screen recovery window, click on Troubleshoot.

Step 3: Select Advanced options.

Step 4: Then select Command Prompt.

Step 5: Type the following commands one by one in the Command Prompt.
bootrec /repairbcd
bootrec /osscan
bootrec /repairmbr
Now restart your computer to check if the ‘Your PC did not start correctly’ error is resolved.
Run Startup Repair
Startup repair is a built-in Windows tool that can help resolve any such errors you might be facing. Here’s how to get run the tool.
Step 1: Hold down the power button for about ten seconds to power off your PC.
Step 2: Press the power button again to boot your PC.
Step 3: As soon as you see the PC manufacturer’s logo, press and hold the power button for ten seconds.
Step 4: When your PC reboots, click on Troubleshoot.
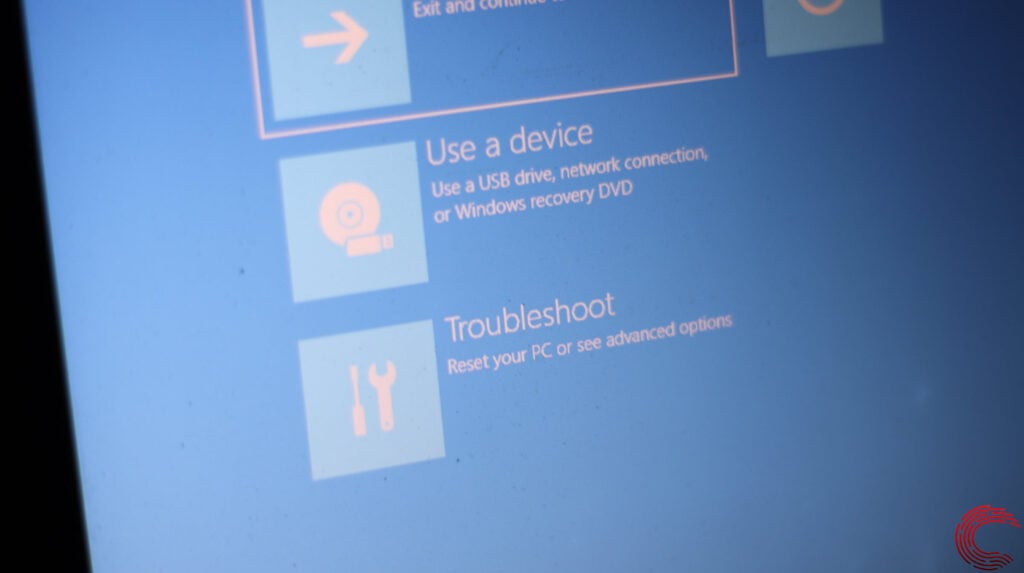
Step 5: Head over to Advanced Options.
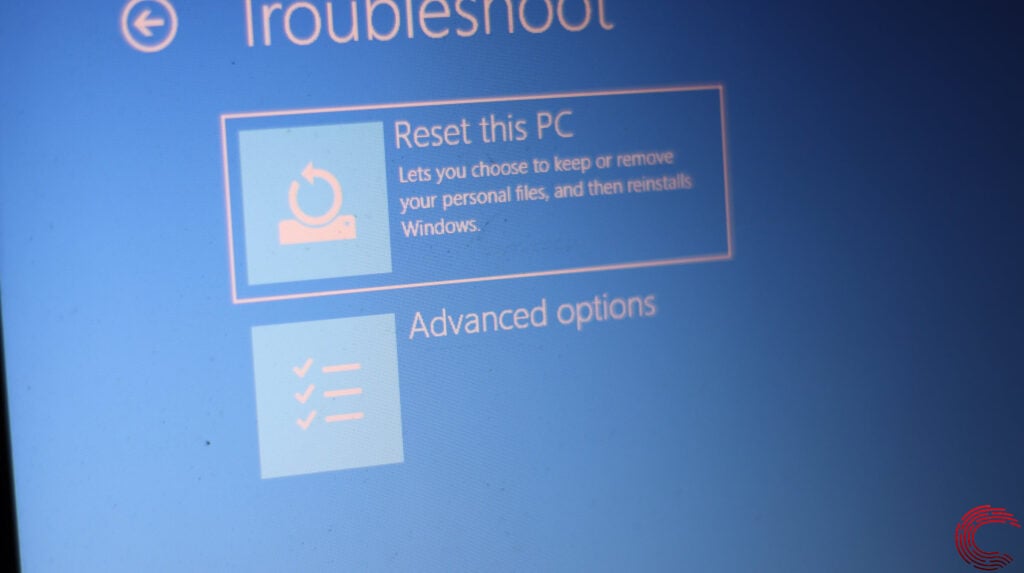
Step 5: Select Startup repair.
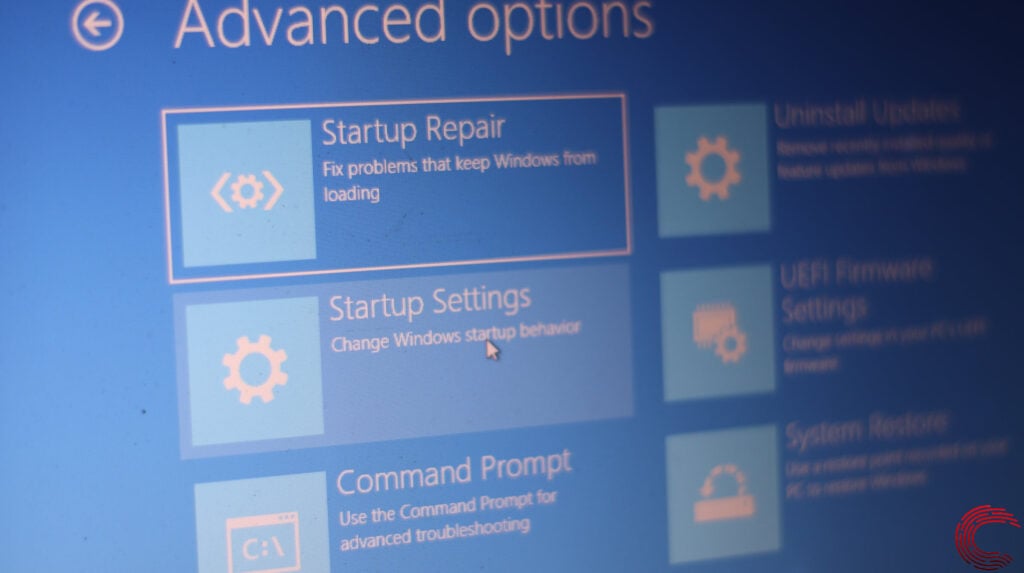
Now let Windows do its thing, and once your PC reboots, the ‘Your PC did not start correctly’ error should’ve been resolved.
Update your PC
Another thing you should try is to update your PC. Updating your PC will, in most cases, update your drivers along with any other problematic software and fix any issues in the process.
Check out this detailed guide to know how to update your PC here
Repair your system
If nothing else works, the best way to get rid of the error is by simply reinstalling or repairing your OS.
The Windows Media Creation tool is a great way to install Windows and repair the OS. Using this, you can perform a clean installation or repair your OS without affecting your data.
You can download the Media Creation Tool here
Also read: Windows was unable to complete the format: 2 Fixes


